Adding a camera to your xTool D1 or D1 Pro saves time, maximizes your workable material, and is a great safety feature.
For one, you won’t have to walk over to your machine to monitor it anymore. You can just look at the camera’s feed from your computer — or even your phone!
Cameras also help for safety: if you notice too much smoke or flames on the live feed, you can stop the job before a fire starts.
Beyond safety, you can use the live image on your camera in tandem with LightBurn software to improve your accuracy, overlaying designs on real images from the camera to set up your cuts perfectly.
Best Camera Solutions for xTool D1 Pro
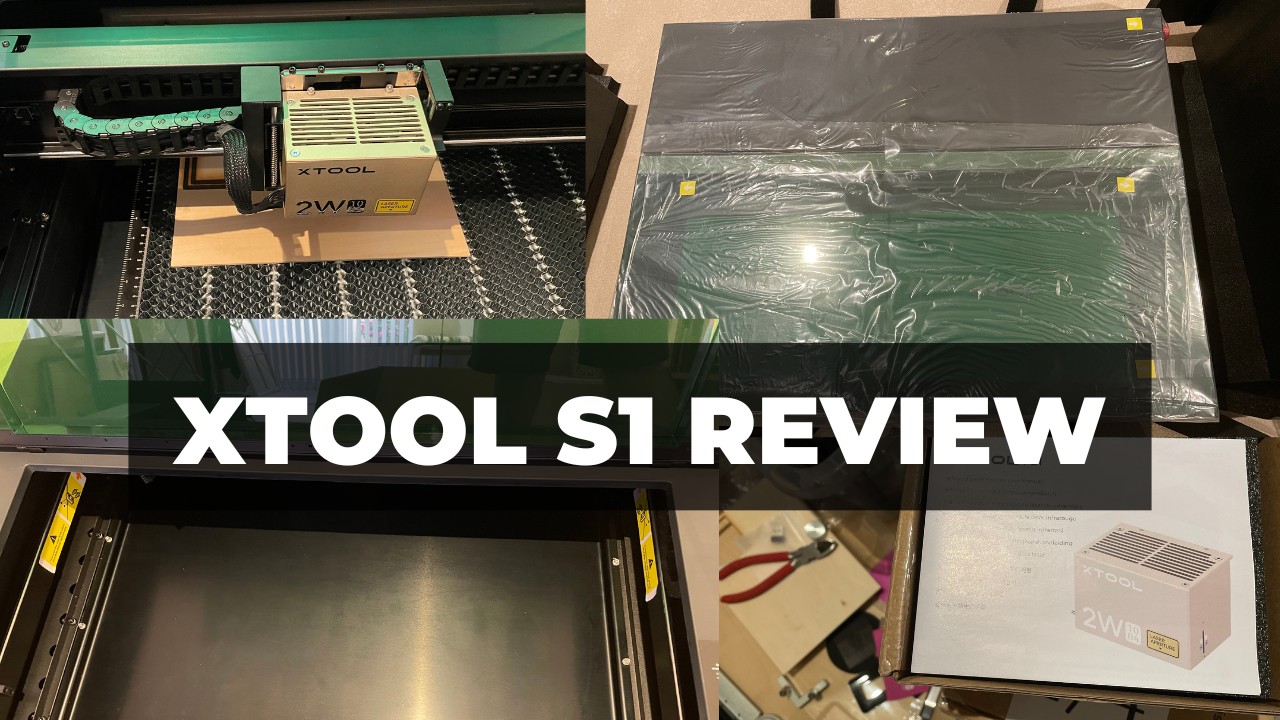
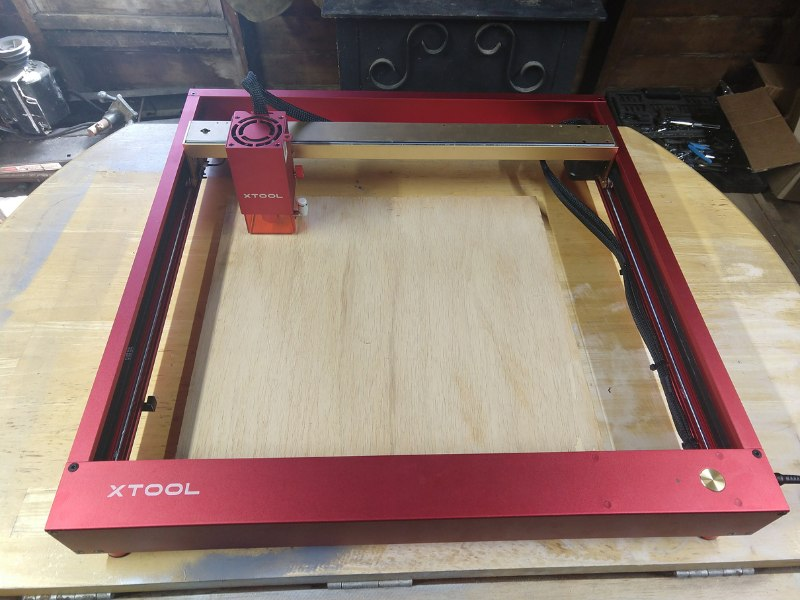
I personally opted for the xTool D1 Pro 20W, and you can also read my in-depth review of the 20W xTool Pro laser.
But, it doesn’t come with a camera by default unfortunately. My new xTool P2 does though, and I wanted the same camera features on my xTool D1 Pro.
So, here’s the options I discovered:
1. Buyable D1 and D1 Pro Camera Kit
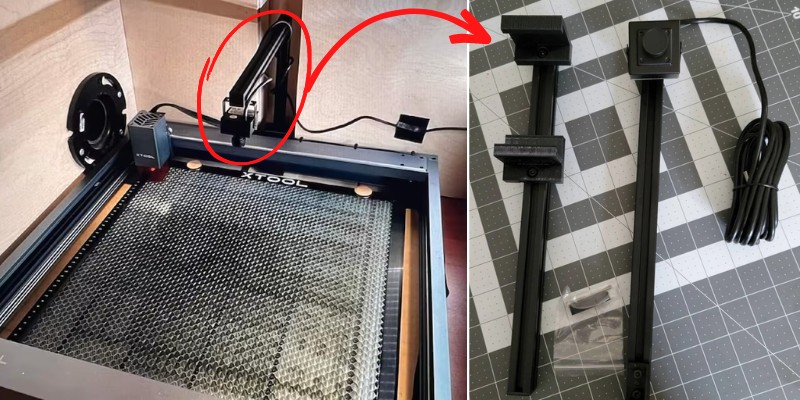
Our favorite camera kit for the D1 and D1 Pro comes from this shop on Etsy. Cobey Schmidt put together a kit that includes everything you need:
- The camera
- Mounts
- Brackets
- Fasteners
You can plug this kit directly into your computer, and then it gets to work. It interfaces with LightBurn’s software, which gives all the benefits we mentioned earlier. It lets you lay out cuts on the material through your live image, lets you monitor the cut, and helps you maximize every bit of your material.
This all-in-one kit takes about 10 minutes to assemble and install on your laser cutter, then 15 minutes to configure and integrate into the LightBurn software. From there, you’re all set.
The laser sits in the middle of your D1 or D1 Pro, and it shows you the full cutting area at all times. The camera is high-quality, and the aluminum mounting arm is strong and sturdy.
However, this camera setup doesn’t work on D1 or D1 Pro machines that have the xTool extension kit, only the stock machine.
2. Purchased LightBurn Camera Kit
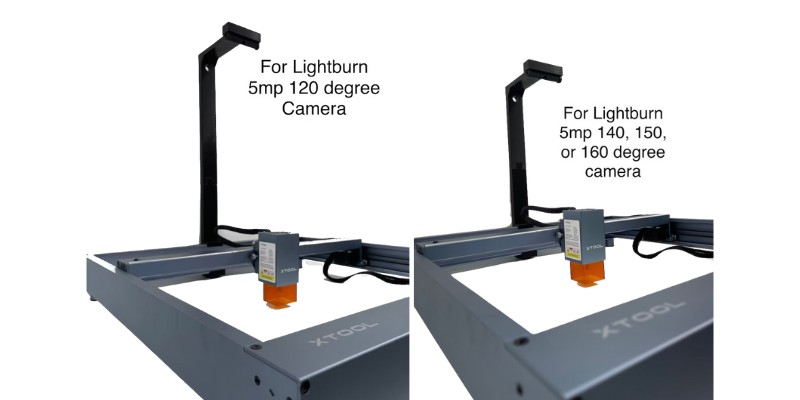
If you want to save money, you can opt for the less-expensive LightBurn camera kit from RowdyRoman. This kit offers the same functionality, integration, and usability as the previous kit, but at a lesser cost.
What’s the difference? This kit doesn’t come with a camera.
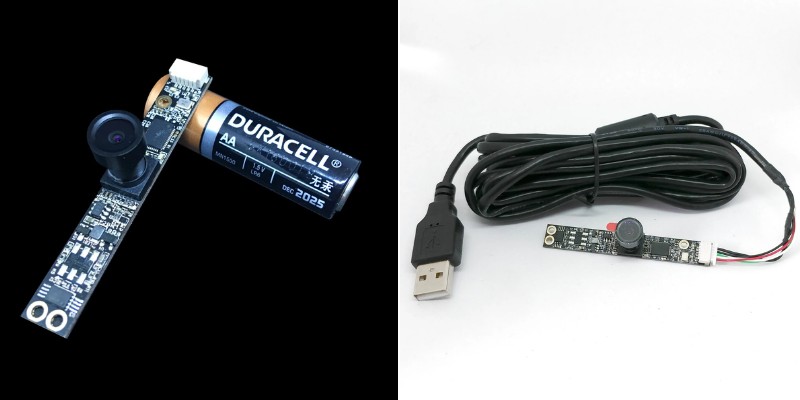
Instead, you’ll need to pick up the 5MP camera from LightBurn directly. This camera doesn’t come with an enclosure or housing unit, so you’ll have to DIY a solution for that.
The mount is easy to install and the camera fits perfectly in it. The Etsy store has different mount configurations based on the LightBurn camera you buy (they offer different lenses which equate to different fields of view).
Once you add the price of the camera and this kit, you’ll still be saving money compared to the previous kit we described. It features an aluminum arm that’s robust and won’t shake while your xTool cuts.
3. DIY a Camera Kit
Let’s be honest, you have a laser cutter because you like to do DIY laser projects. Making a DIY camera setup for your D1 or D1 Pro is a fun project you can tackle. Start by picking out a camera.
You can use the bare-bones camera from LightBurn or grab any webcam, security camera, or Ring doorbell. We suggest using the LightBurn camera because it integrates directly into its software.
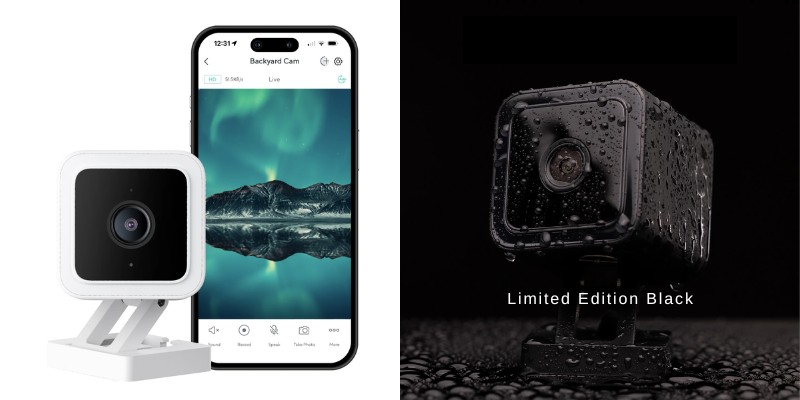
It might seem crazy, but you can just use an inexpensive Wyze camera if you simply want to monitor your cuts. It’s a $30 camera that live-streams the feed to your phone, tablet, and computer — so you can check the status of your laser cutter from a different room.
From there, you’ll need to DIY a mount and arm to attach to your D1 or D1 Pro. You can do this with standard 1/4″ thick basswood plywood or acrylic. If you don’t want your camera to be right over the cutting area, you can set it on a cabinet nearby and angle the camera downwards so you can see the laser cutter running.
Since it’s a DIY solution, you can pick and choose the features you want to include. Use your xTool to cut the parts you need and do some trial-and-error.
4. Pre-Made DIY Solution
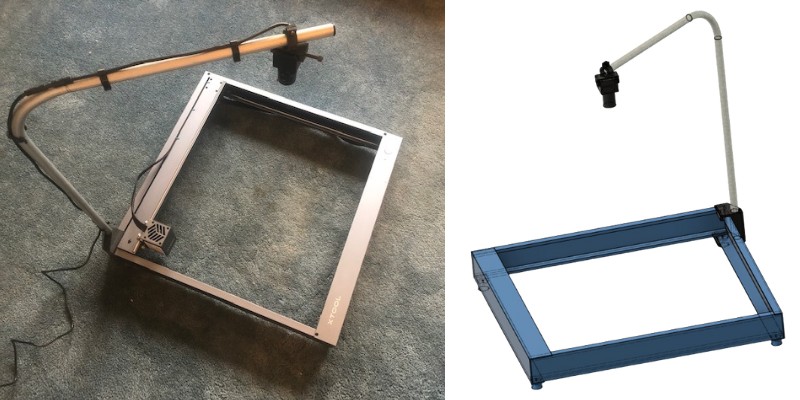
Somewhere between a custom-made DIY part and a purchased part is a pre-made DIY part that you can just purchase and make yourself. This xTool D1 camera mount on Thingiverse is exactly that.
It uses four 3D printed parts, a few bolts, and a 1/2″ diameter EMT conduit from Lowe’s, bent with a Gardner Bender 960. All-in, it’s about $10 in combined costs.
However, you’ll also need to find your own camera for this (unless you have a spare camera laying around that you’ll be using).
You don’t need to design any parts on your own, it’s already done for you. That’s the benefit of this hybrid option between a DIY project and a purchased part. If you see parts of the design you want to tweak, feel free to do so and personalize the camera mount for your own camera.
It might not look like the most professional option, but it works really well and costs very little.
Related articles:
- My full xTool D1 Pro review.
- xTool D1 vs D1 Pro: Which is the Better Laser Cutter
- xTool D1 Pro 5W vs 10W vs 20W: The Differences Explained
- Hands-on Comparison of the xTool D1 Pro and the Ortur Laser Master 3.
- Best xTool Projects You Can Make
- All About Laser Air Assist: Complete Buyer’s Guide
- Best Laser Cutters & Engravers [All Budgets])
- xTool D1 Pro 5W vs 10W vs 20W lasers compared
- xTool vs Atomstack lasers compared