I was lucky enough to test the xTool S1 laser cutter before it was announced and released. And I have to say, from my testing so far, that it’s great.
It’s the laser cutter I always wanted. It’s an enclosed, powerful 40W diode laser that mixes the enclosure and power of the xTool P2, the working area of the xTool D1 Pro (and more!), and you can switch the 40W laser with a 2W IR laser for metal engraivng, just like the the xTool F1.
So if you want a versatile, professional laser cutter for your business, and you don’t want to get the xTool P2 for CO2 cutting, then get the S1. It can cut thick 18mm wood, engrave metal jewelry, and has the curved surface engraving features the xTool P2 has!
It’s my new favorite laser cutter.
It has a 498 x 319 mm working area, and a 0.08×0.1mm spot size for accurate cutting and engraving.
Oh, and if you don’t need all the 40W power, there’s also a 20W version.
xTool S1 – Pros and Cons
Pros
- Powerful 40W diode laser cuts through thick wood and acrylic
- Enclosure keeps fumes away, which is a problem with other open-air diode lasers
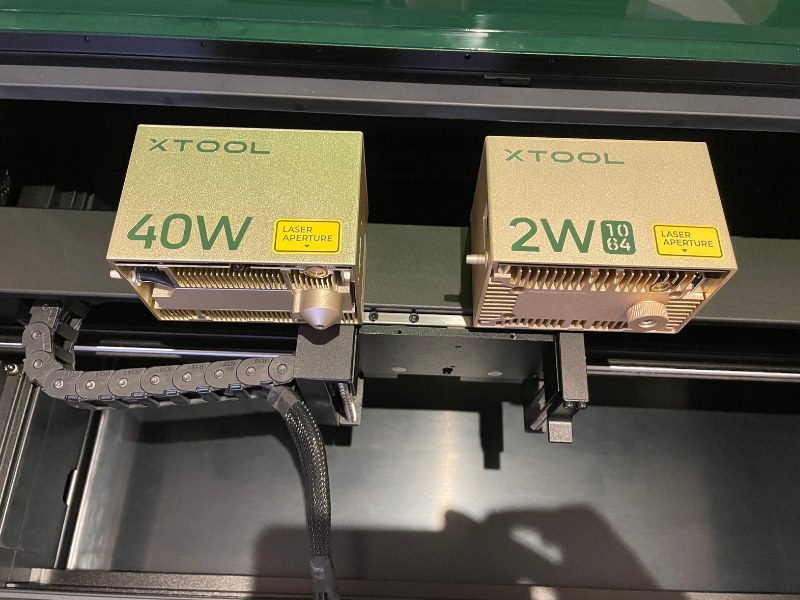
- Switch in the 2W IR 1064nm laser for metal engraving (it takes just 2 minutes, and 2 screws)
- Has some of the curved surface engraving features of the xTool P2 (just without the camera)
Cons
- Using the riser base can create issues with the distance sensor if you are using thin materials.
Unboxing and Assembly
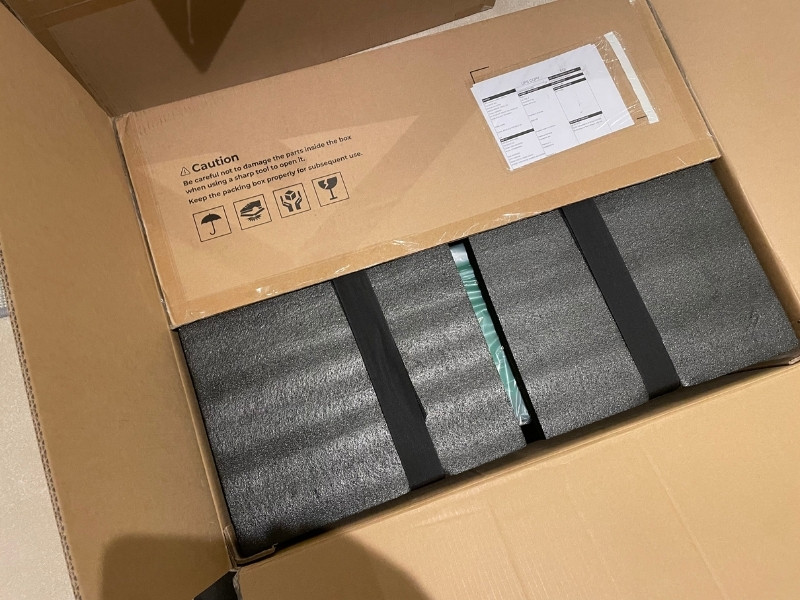
The xTool S1 arrived in 4 separate packages with all the accessories I wanted:
- The xTool S1 machine
- The riser base
- The honeycomb panel
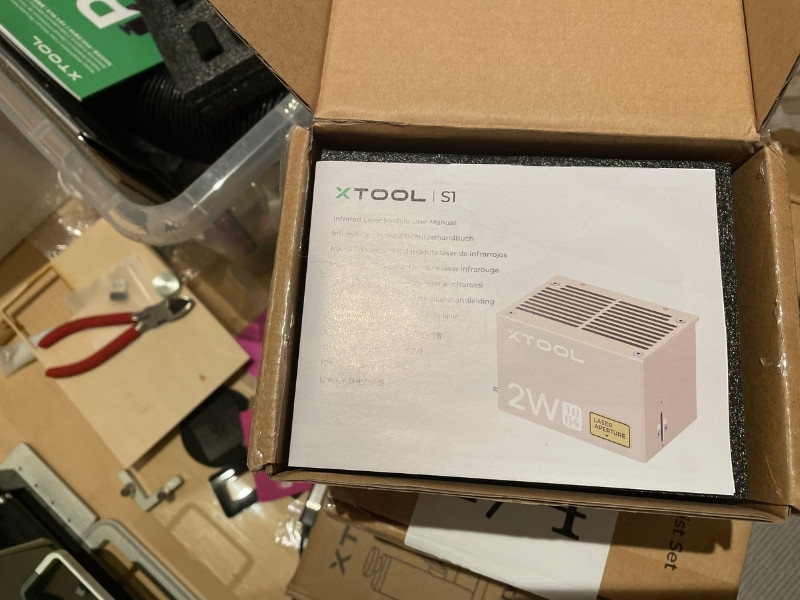
- A fourth package containing the air assist kit, and the 2W 1064nm infrared laser
But obviously, if you don’t order these accessories you won’t this many boxes. I also already own two xTool RA2 Pro rotaries so I didn’t need to order another, but I highly recommend ordering one if you don’t, as the rotary opens up SO many new options for your laser business.
Though the boxes were big, they were easy enough to bring into my workshop. Frankly, compared to the 45kg xTool P2 which took two of us to lift and maneuver, the xTool S1 was comparatively light! I was able to carry it through to my workshop with ease.
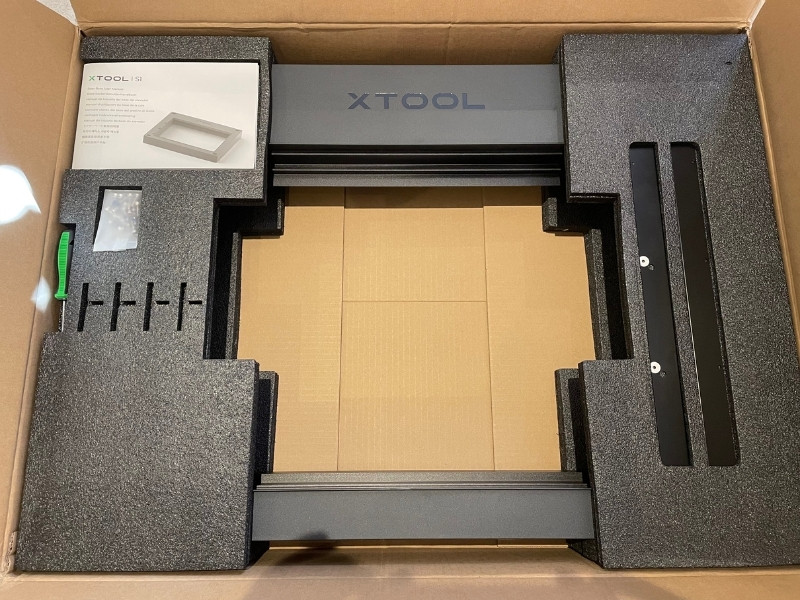
Everything for the xTool S1 laser is in this one package. All I had to do was open the box, lift the lid, take out the materials, guides, and parts that come with it, and I was ready to get going.
The materials it comes with are:
- 1 sheet of 3mm plywood
- 1 sheet of 3mm black acrylic
- 2 stainless steel metal pendants
- 2 clear acrylic circular shapes
- 1 slate coaster
- 1 sheet of thin leather
- 1 sheet of vinyl paper
I didn’t need any video guides, and the instructions were pretty clear.
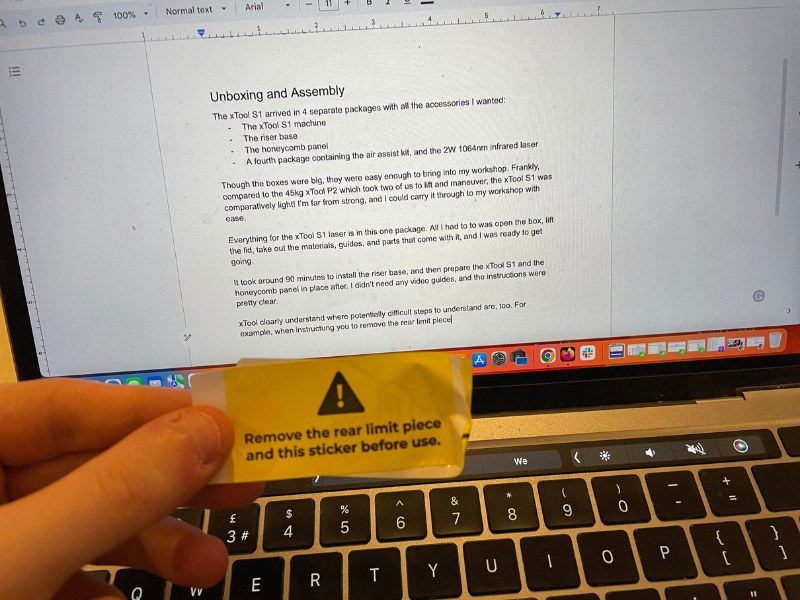
xTool clearly understand where potentially difficult steps to understand are, too. For example, when instructing you to remove the rear limit piece, there’s also a sticker on the inside that shows you this, which you then remove after you’ve completed the step.
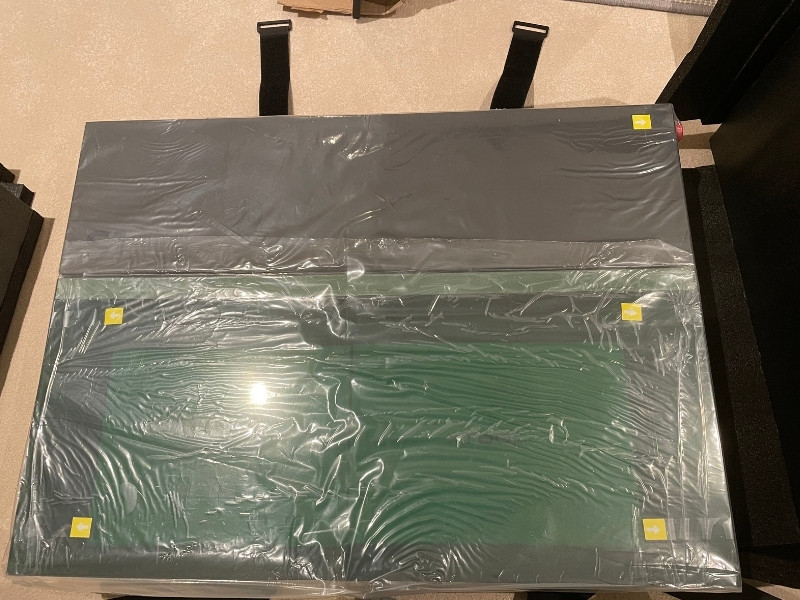
1. Installing the riser base
Installing the riser base took around 45 minutes in total. It’s really simple, and interestingly it’s a completely different design to the riser base I built for my xTool P2!
You basically just unscrew the base of the xTool S1, re-screw it into the bottom of the riser base, attach two side panels on, and then place the S1 on top of the riser base, before screwing in the last parts.
It’s really simple, and even if you’re a beginner you’ll have no trouble. It’s literally just 20 screws and 6 steps.
2. Preparing the xTool S1
Getting the S1 ready to laser cut only took around 10 minutes. And 80% of this was unscrewing the rear limit pieces in the corner of the laser – they were kind of difficult to reach, but it wasn’t a big deal.
Then, it was just placing the laser and screwing it in place (you can easily switch them out if you have the IR 2W laser), and then attaching the air filter, connection key, and plugging the machine in.
It really is a plug’n’play laser machine. There was no assembly process like with my xTool D1 Pro (though the D1 is still super easy to build), and I was ready to go within 10 minutes of unboxing the xTool S1 – the only reason it took longer was beacuse I had these other accessories.
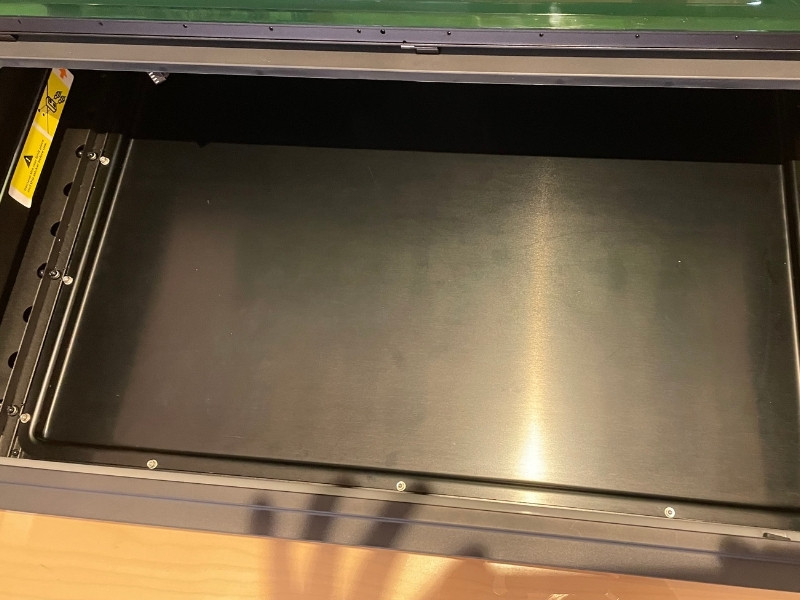
3. Installing the honeycomb panel
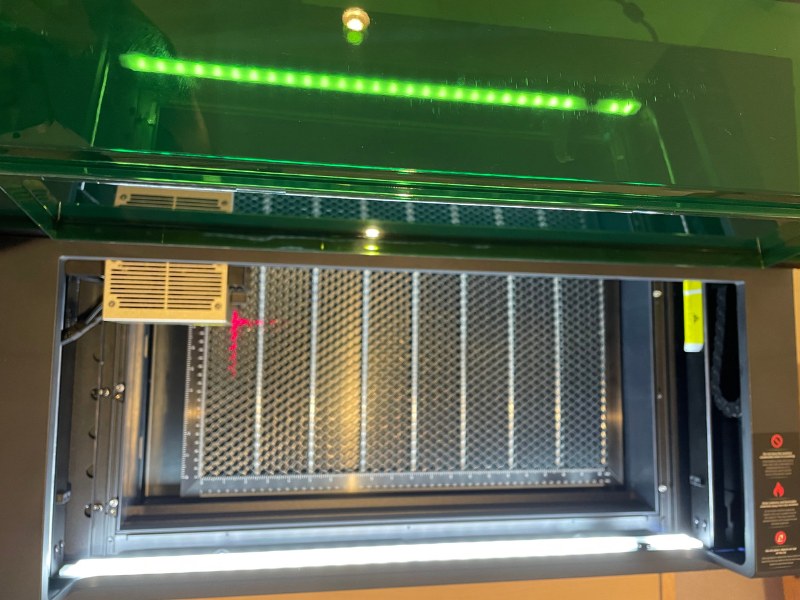
This took 30 seconds. You just put it in the base of the laser, and move it so it touches the right side of the laser. It also comes with 4 pins which are useful for keeping everything in place.
Testing the xTool S1: My Hands-On Results
I will keep updating this as I do more tests, but I can confirm how powerful the 40W diode laser head is, and the thickness of wood it can cut.
I will add images once I have better comparisons here – I haven’t had enough time with the machine yet to fully test it on specific thicknesses. And I don’t want to put my results up here before they’re completed.
So while I haven’t tried cutting the full 18mm thick wood yet, I’ve cut 12mm+ with no issues.
It’s also really fast, at up to 600mm/s!
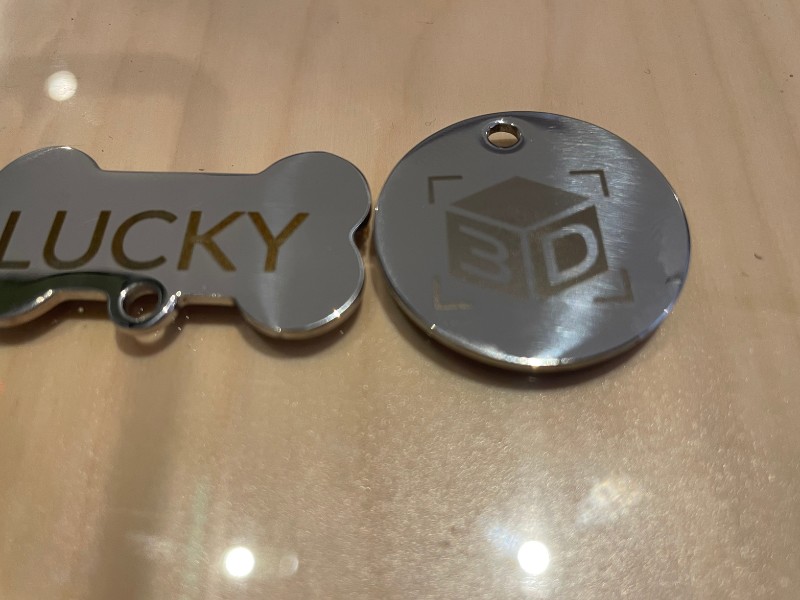
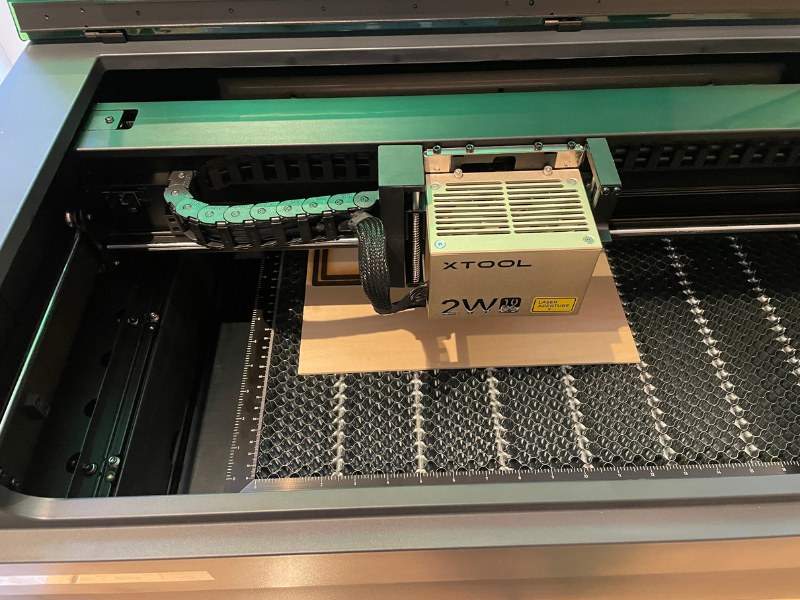
The 2W 1064nm IR laser is also great for engraving metal jewelry. It looks to be the same 2W IR laser as the one that comes with the xTool F1, and I really liked this when I tested the F1 a few months back.
Some projects I’ve completed with the 2W IR laser include:
- Slate coasters
- Metal pendant jewelry
- Leather
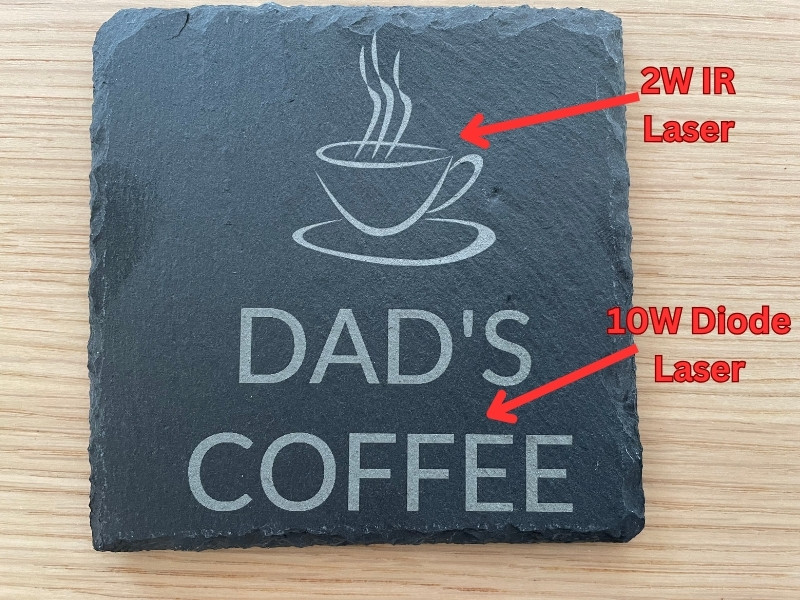
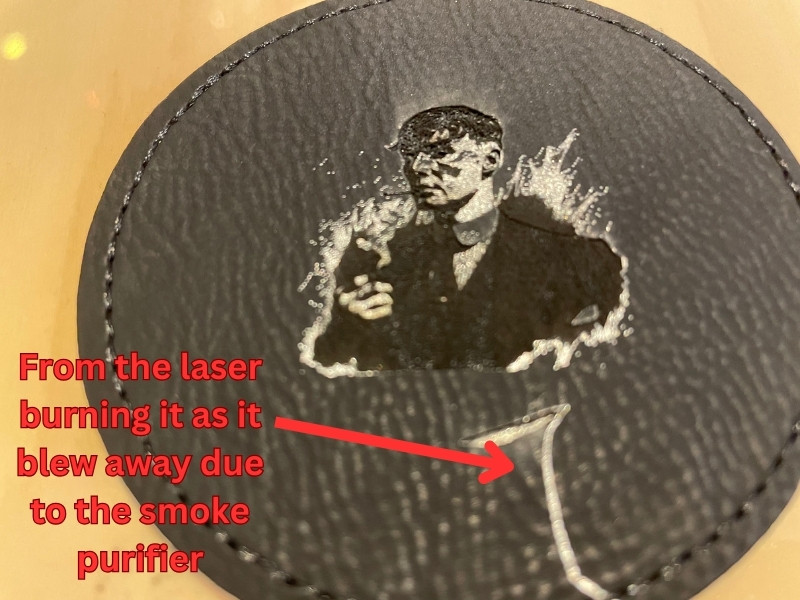
This slate coaster below used the 2W IR laser (this same laser features on the xTool F1), and comes out really well. You can see the difference between this and a standard 10W laser below in the quality and sharpness of the design.
The only downside during my initial tests was that when you use the riser base for extra height, and want to cut a thinner piece of material, you can encounter errors with the distance sensor if it can’t reach the material.
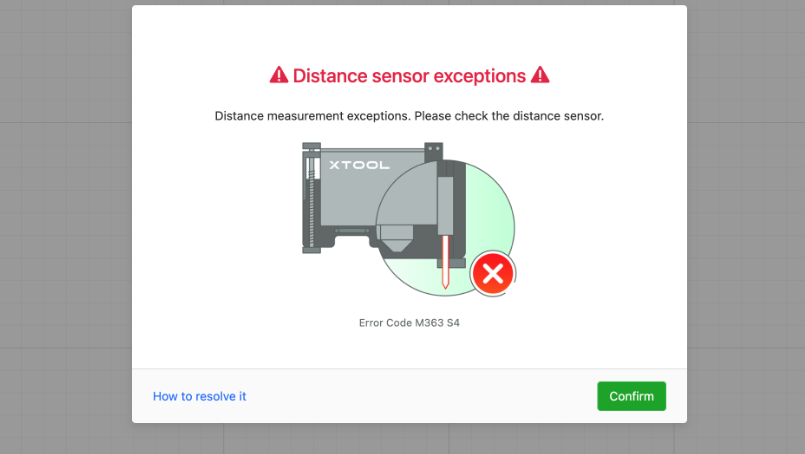
I was using the honeycomb panel and a thin piece of wood, and needed to prop the wood up on another material block so it would reach.
The easy fix is to just not use the riser base if using thin material, but it takes around 15 minutes to remove, so the easiest solution. is just to put more materials underneath if you’re using it.
If you don’t have the riser base, then this is no problem.
Overall, I highly recommend the xTool S1 as the best professional laser cutter right now. It’s powerful and versatile with the diode and IR laser heads, safe and enclosed, fast at 600mm/s, and has a large enough working area to make almost any project you want.
There’s even a pass-through accessory for even longer materials!
I will update this article in the coming weeks when I have more tests, but my initial impressions are that this is a great machine!