Key Takeaways
- What is stepover: Stepover is the distance your CNC machine moves your bit after each pass in the XY plane, measured as a percentage of the tool diameter.
- How stepover affects surface finish: Smaller stepovers result in smoother surfaces and more details, but also longer machining time. Larger stepovers result in rougher surfaces and less details, but also faster machining time.
- How to choose stepover: The ideal stepover depends on your bit shape, material, and desired quality. Generally, you can use 25% to 70% stepover for ball endmills and 10% to 45% stepover for 90° V-bits.
- How to optimize stepover: You can use higher feed rates for smaller stepovers to reduce machining time. You can also use smaller stepovers for tougher materials to reduce post-machining labor.
If you’ve ever removed material with your CNC machine, you have come across a variable in your CAM software called stepover size.
In this guide, I’ll demystify the relationship between stepover size and machining outcomes, using my first-hand experience to improve the quality of your finished surface and machining time.
You’ll learn how stepover size impacts your CNC machine’s performance and how to select the ideal stepover for your specific project.
Whether you’re working with ball endmills, v-bits, or diverse materials, understanding stepover will streamline your CNC workflow, enhance surface finish, and balance the trade-off between precision and time-efficiency.
So read on to avoid the typical beginner mistakes!
What Is Stepover Percentage in CNC ?
Imagine you want to color a square on a piece of paper using a marker. You would move your hand horizontally, coloring a strip from the top.
Once you’ve colored the top strip layer, you move down one layer and color another strip. You repeat this process until you have colored the whole square. But where do you start your second strip after the first pass?
If you color your second band just touching the bottom edge of the first one, you are coloring with a 100% stepover, because you moved down 100% of your marker width.
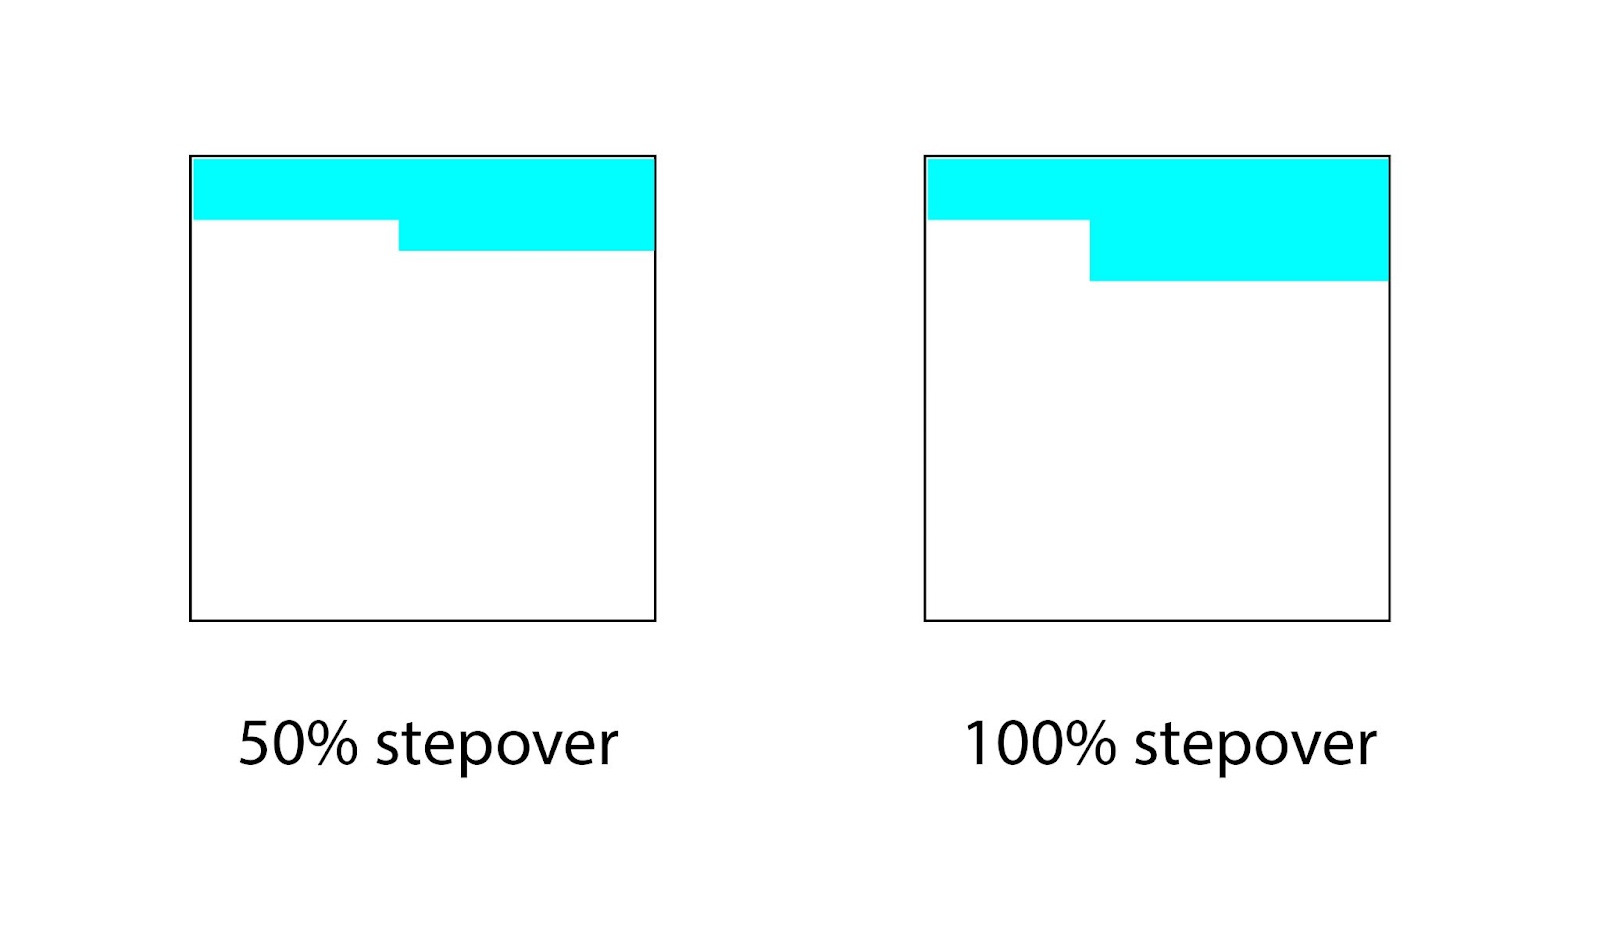
Or instead, you can only move your marker down half its width, so that half of your marker is repainting the first band. In this case, you are using a 50% stepover.
Likewise, the distance your CAM specifies to move your bit after each pass in an iterative toolpath (in XY plane) is the stepover size. We measure stepover in terms of the percentage of the tool diameter.
Stepovers and Scallops
Let’s say we want to pocket a square on a flat surface like MDF. Pocketing is when we remove some of the material. So, think of our case as creating a headless box inside an MDF sheet.
Like painting a square with a marker, we can use horizontal passes with our endmill. A flat endmill will perfectly do the job here with any stepover value.
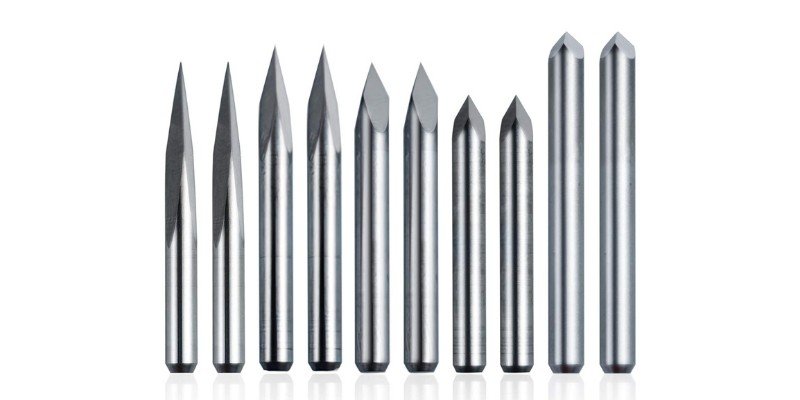
But what happens if we use a V-bit instead? Scallops result when the bit’s geometry does not perfectly fit our purposes.
(Scallops are the bumps on the surface that require smoothing out)
In this case, the V-bit will leave behind scallops in the shape of triangular prisms. You can see this in the cross-sectional image below and compare the size of scallops left with different stepovers.

Unless you are pocketing flat 2D with a flat endmill, in most cases we end up with scallops and need to decide on a reasonable stepover.
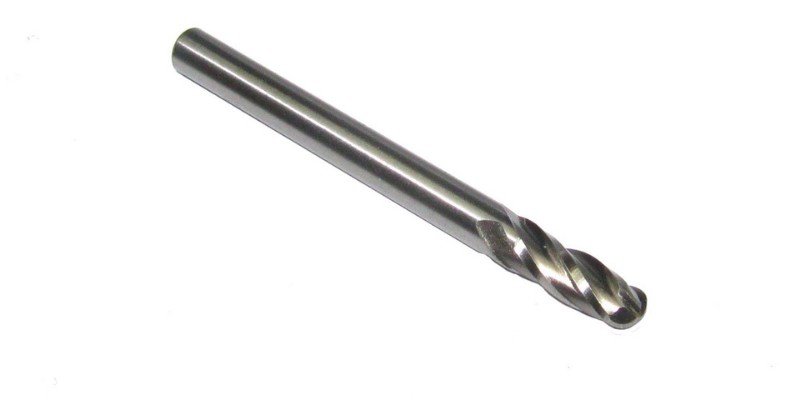
This is because the geometry of the bit will not perfectly fit our purposes, despite our efforts to choose the best endmill. For 3D works, it is usually best to employ a ball endmill.
You can see the cross-section of scallops left by ball endmills below.

Effects of Stepover Size in CNC
Choosing bigger stepovers results in faster machining time. Because your CNC router or machine will need fewer passes for the job.
On the other hand, it also results in bigger scallops. So, you will have to spend much more time sanding and smoothing your finished surface.
A smaller stepover will give you more but tinier scallops. If this tempts you to use a smaller stepover, remember that a smaller stepover also means a longer machining time.
This is similar to layer heights in 3D printing. Using smaller layer heights gives you better resolution, but it also takes longer to print.
Stepover Effects on Tool-Material Engagement
As with the example of coloring a square with a marker, with bigger stepovers, more of your tool engages in cutting material.
You can use slightly higher feed rates for smaller stepovers since there is less load on the tool with smaller stepovers.
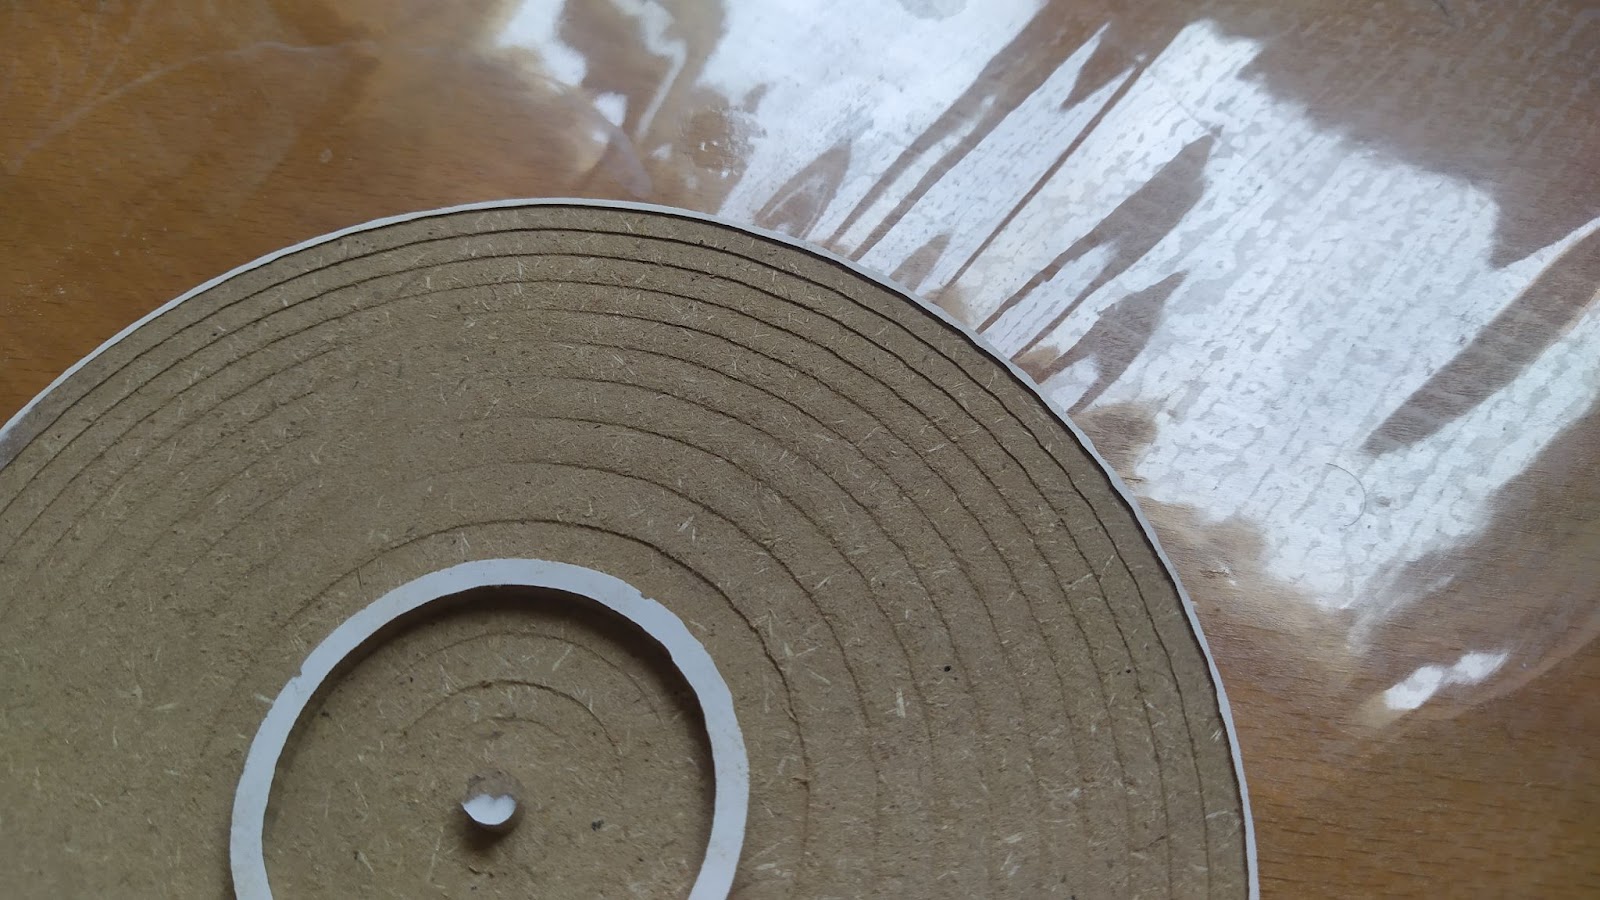
In the image below, I have pocketed concentric circles with different stepovers (and at different depths). As we get closer to the center, you can see how bigger stepovers will cut more material in each pass.
How to Choose the Right Stepover Size
Do You Need Mathematical Formulas to Determine Stepover?
No. Granted, there are some math considerations. But they are easily understandable without complicated formulas.
Plus, common sense and skill are more important than formulas here. Because choosing a stepover tells how much your machine is supposed to work on the surface finish and how much you will work on it post-machining.
Stepover for Ball Endmills
Imagine you have a big ring like a hula loop and you want to drop a ball from its rightmost inside point to slide down.
The ball has large acceleration at first but loses its acceleration as it nears the bottom. This is because you have a more vertical slope near the rightmost point of the circle.
Now, think of the scallops left by a ball endmill that we showed before by only considering the left part of each scallop. This is a right triangle with an arc instead of its hypotenuse.
If you start decreasing your stepover from 100%, just like the sliding ball, your scallop rapidly gets smaller from its rightmost point and then slows down as you near the bottom.
So, by decreasing your stepover to 70% you earn tremendously smaller scallops in return.
On the other hand, decreasing your stepover from 30% to 10% makes very little difference. So it is not worth the added effort and diminishing returns
As a rule of thumb, for ball endmills choose a stepover between 25% to 70%.
Smaller stepovers give you a better surface finish, more detail, and smaller scallops but will require a longer machining time.
Stepover for V-Bits
V-bits can be used for engraving purposes. As we explained before, V-bits leave triangular cross-sections.
If you double your stepover with a 90° V-bit, the scallop height is also doubled. So, the scallop volume gets bigger four-fold. Yet, your machining time is almost only halved.
What this means for you is that a bigger stepover wins you little machining time compared with the huge price you pay with post-machining labor.
Scallops of V-bits with angles over and under 90° are respectively smaller and bigger than the 90° V-bit.
So, choose a stepover between 10% and 45% for a 90° V-bit in 2D engraving.
With bigger V-bit angles, you can use bigger stepovers.
Materials and Stepover
It is more difficult in post-machining to deal with scallops of tougher materials. So, it is better to use a smaller stepover for tougher materials such as metals.
Plus, metals can hold better details than plywood or MDF, since MDF structure is not reliable for precisions that are better than 0.07mm.
To sum up, your CAM software has settings for stepover in the XY plane.
Since the geometry of your bit hardly ever makes a perfect fit with CNC purposes, you will end up with scallops on your finished surface.
Your machine spends more time on the quality of your surface finish with smaller stepovers. But there is a limit to how much your CNC’s work pays off.
At some point, you should decide to deal with scallops post-machining. You choose your stepover based on where you draw this line. This decision involves your bit shape and your material.
Usually, you set your stepover between 25% and 70% for ball endmills and 10% to 45% for 90° V-bits.
It is better to use smaller stepovers for tough materials compared to soft ones.
Finally, no math formula is spying on your choice of CNC CAM stepover, but you better watch your steps choosing the right stepover.
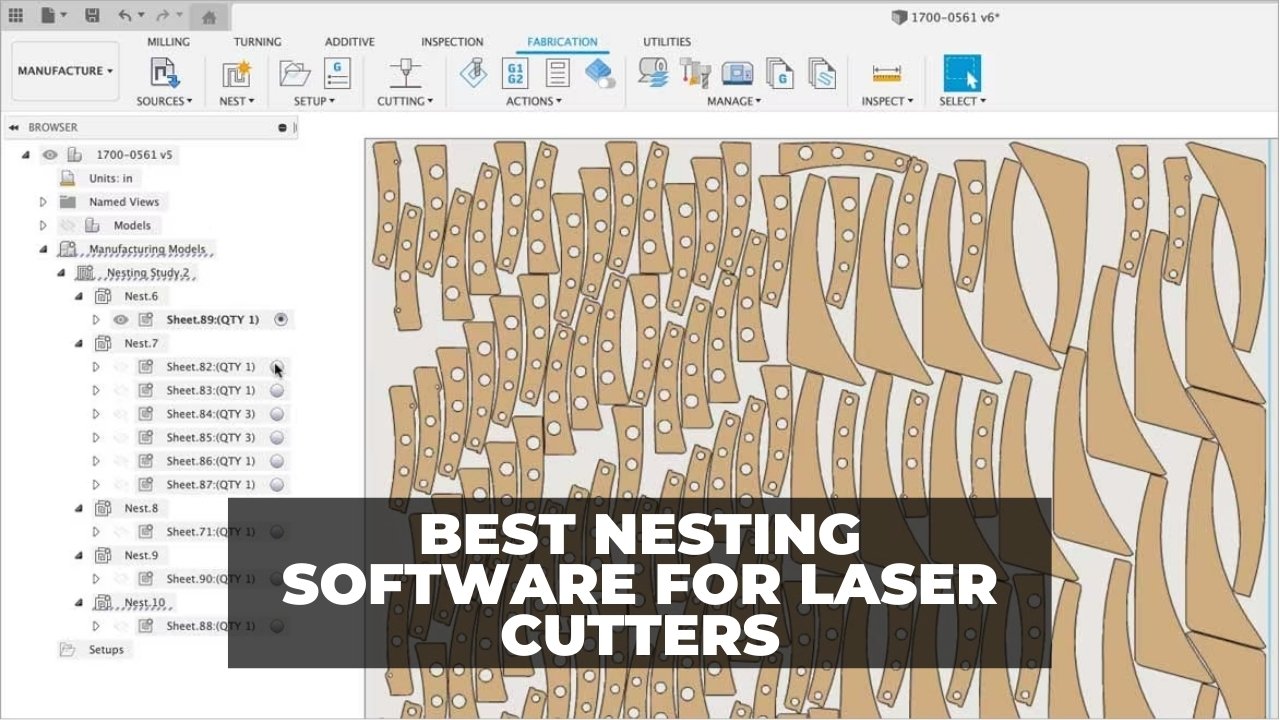
Other articles you may be interested in:
- The best CNC software (including CNC control software)
- The best CNC routers
- The best metal CNC machines for aluminum
- The best sites for DXF CNC files
- Best CAD-CAM software
- The best CNC controllers