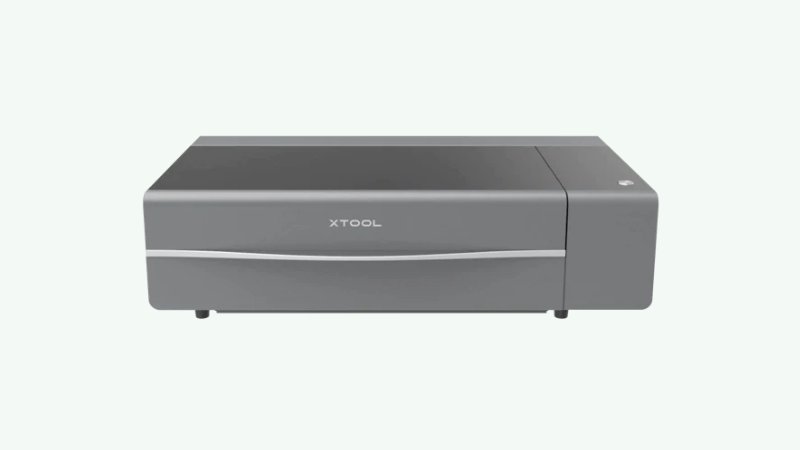
The best alternative to the Glowforge Pro is the xTool P2. It’s more powerful, faster, and has more premium features such as curved surface engraving, and batch processing features. And it’s cheaper!
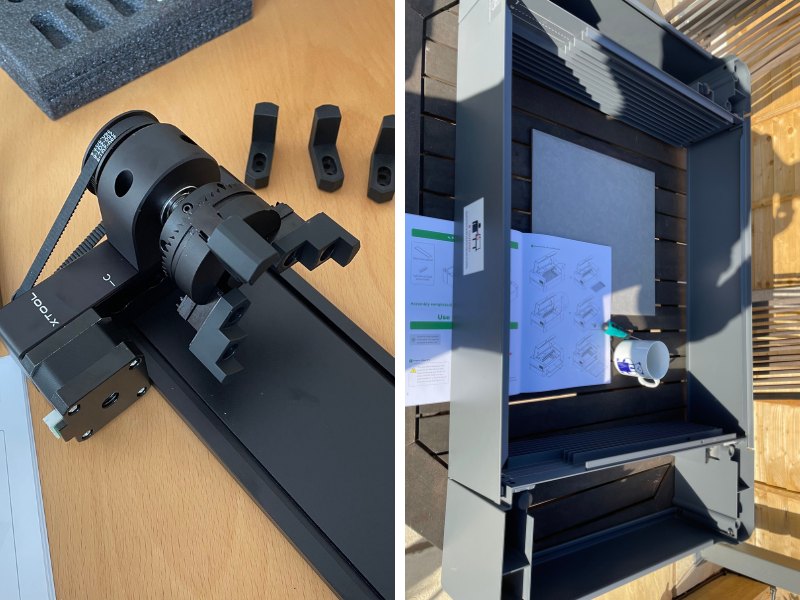
In fact, you can buy the xTool P2, along with the RA2 rotary accessory, riser base accessory for 8.5″ max material height, and the conveyor feeder for automatically feeding up to 118-inch sheets, and it’ll STILL cost less than the base Glowforge Pro.
|
Best Desktop CO2 Laser
|
Best Diode Alternative
|
|
CNCSourced Rating: |
CNCSourced Rating: |
|
4.7
|
4.5
|
|
$4399
|
$1799-$2299
|
|
Laser Power:
55W
|
Laser Power:
40W or 20W
|
|
Working Area:
600 x 308 mm
|
Working Area:
608 x 385 mmm
|
I’ve tested more than half a dozen laser cutters and engravers over the last few years and identified the handful that truly stack up to Glowforge – ranging from the unbeatable value-for-money xTool D1 Pro, to the superior overall xTool P2.
Quick Overview
- Best alternative overall: xTool P2
- Best budget diode laser alternative: xTool S1
- Even more power but cheaper: OMTech 55W
- Best industrial Glowforge alternative: Thunder Laser Nova 24
In this guide, I’ll compare my hands-on experience with each of the best Glowforge alternatives, and how they compare across all the important factors so you can make the right choice for your needs and budget.
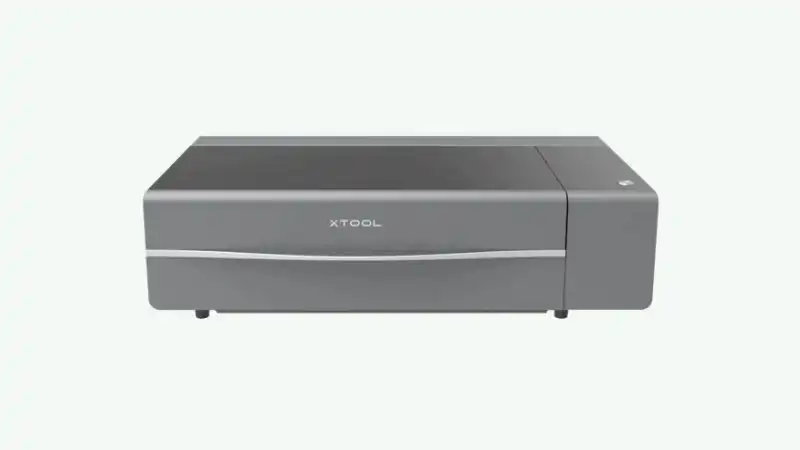
1. xTool P2 – Best Glowforge alternative overall
- Price: Check at xTool here
- Working area: 600 x 308 mm
- Rotary attachment: Yes
- Laser type: CO2
- Power: 55W
- Max engraving speed: 600mm/s
- Compatible software: XCS, Lightburn
Pros
More powerful than all Glowforge lasers, at a lower price.
Rotary attachment for $279.
Curved surface engraving, and batch processing features.
Cons
Lower dpi than Glowforge Pro.
| xTool P2 | Glowforge Pro | |
|---|---|---|
| Power | 55W | 45W |
| Rotary? | Yes | No |
| Max Speed | 600mm/s | Approx 200-300mm/s |
| Pass-through Slot? | Yes | Yes |
| Accessories | Rotary, riser base, air purifier, fire safety accessories | Air filter |
| Software | XCS and Lightburn, available offline | Glowforge cloud software, only available online |
Based on my hands-on experience with the xTool P2, I think it is the best desktop CO2 laser cutter, and is better than the Glowforge Pro.
First, power. The xTool P2 has 55W power, and can cut 20mm acrylic in a single pass, whereas the Glowforge Pro maxes out at 45W power.
Then, speed. The P2 can engrave wood, acrylic and slate at up to 600mm/s, whereas the Glowforge Pro’s speed isn’t specifically named, but is around 200-300mm/s.
Both have pass-through slots, with the xTool P2 having an optional conveyor feeder accessory which lets you put 118-inch long workpieces through for cutting huge pieces.
The xTool P2 also has a rotary, and a riser base attachment which gives you up to 8.5″ max height. The Glowforge Pro has no rotary. For me, I like to laser engrave tumblers, flasks, and other rounded objects, and they sell really well online. The lack of a rotary is a big issue for me.
The xTool P2 also has curved surface features, letting you engrave perfect designs without distortion on spoons, bowls, and other uneven objects. This is a game-changing new laser cutting feature.
You can see how it works in my video here:
There’s also the Smart Fill batch processing feaure that auto-aligns your design perfectly on all the items you’re cutting or engraving.
XCS software is intuitive and easy to use, and it’s also available offline, unlike Glowforge which is all in the cloud. This protects you from an internet outage, and means the software can’t be taken offline, leaving you with an unusable brick.
However, the Glowforge wins out in dpi, operating at 1355dpi versus the xTool P2’s 1000dpi.
Overall, I think the xTool P2 is the best CO2 laser in it’s price range right now.
Even with the riser base accessory, RA2 Pro rotary, and the conveyor feeder, it’s STILL cheaper than the base Glowforge Pro. To me, it’s a no-brainer to go with the xTool P2.
Simple the best CO2 desktop laser right now. You can buy this, the rotary, riser base, and the automatic conveyor feeder, and it's still cheaper than a Glowforge Pro.
It's more powerful than competing lasers at 55W, can cut 20mm thick wood in a single pass, and the batch processing and curved surface engraving open up new possibilities for your business.
- Large processing area
- Powerful 55W laser cuts 20mm thick material in a single pass
- 16MP dual cameras autofocus for easy project preparation
- Curved surface engraving in XCS
- Batch processing features
- Can't use all features in Lightburn (but XCS software is really good now)
- Mirrors/lenses may be out of focus from transport and require fixing
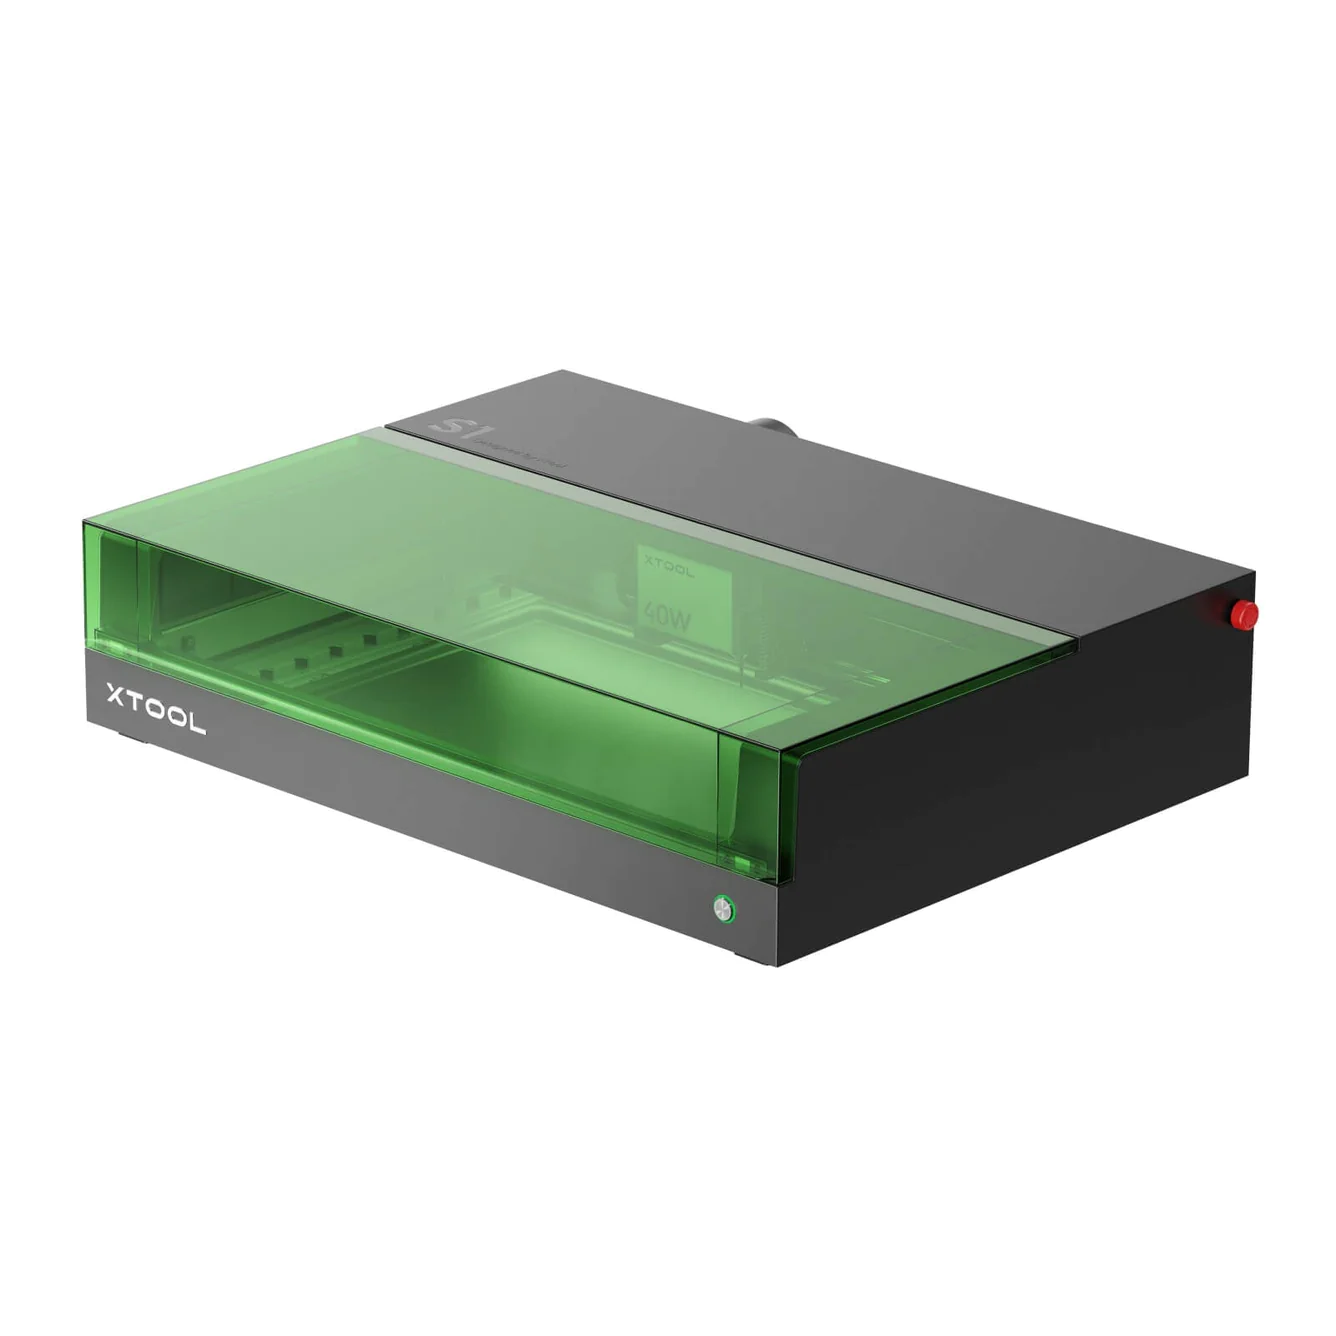
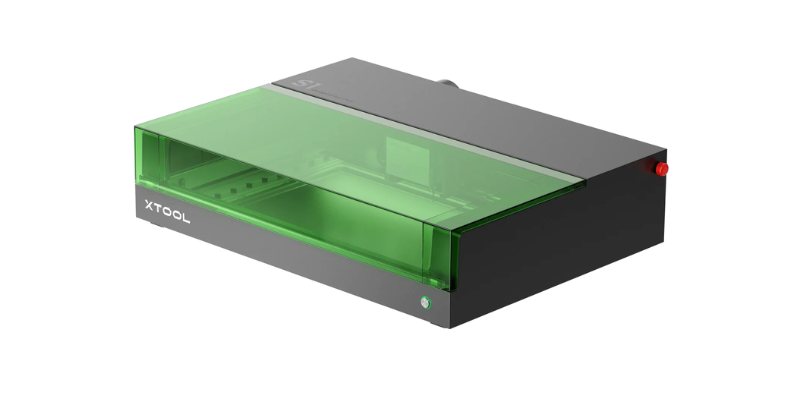
2. xTool S1 – Much Cheaper Diode Laser Alternative
- Price: $1,799 to $2,299 – Available at xTool here
- Work area: 608 x 385 mm
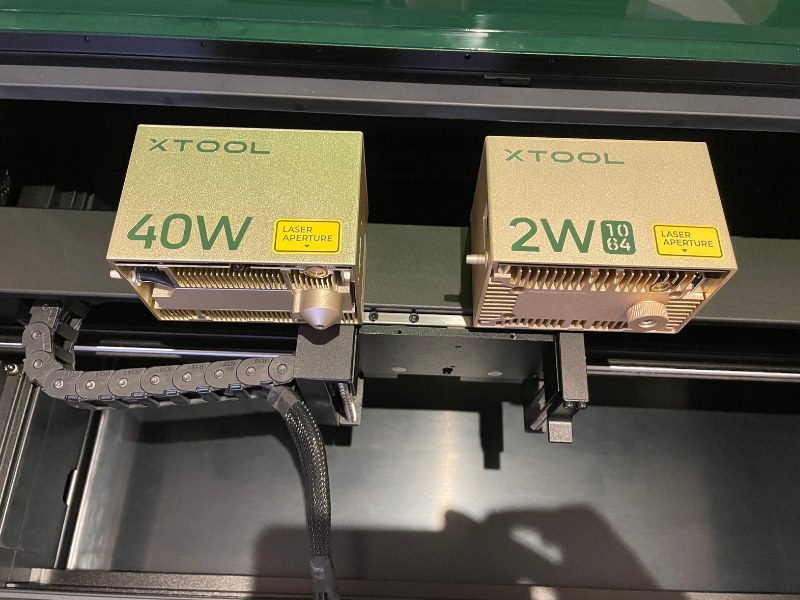
- Laser power: 20W or 40W (2W IR laser attachment also available)
- Laser type: Diode
- Rotary: Yes
- Max speed: 600 mm/s
Pros
Over $3,000 cheaper than Glowforge Pro
IR laser option for metal engraving
Works with rotaries
Powerful offline XCS software
Cons
Not as strong cutting capabilities as Glowforge’s CO2 laser
For those looking at the Glowforge but want something significantly cheaper and more versatile, the xTool S1 is an interesting diode laser alternative. At under $2,500 for the 40W version, it costs far less than the Glowforge Pro while offering several advantages.
Unlike Glowforge, the xTool S1 allows you to engrave metal by easily swapping in the 2W IR 1064nm laser module. It also works with rotary attachments for cylindrical engraving on mugs, tumblers and more – something Glowforge cannot do.
You can also use xTool lasers offline with XCS software on your computer (they also work with Lightburn), rather than being cloud-reliant like Glowforge.
The downsides are that while the 40W diode laser cuts thick materials like 15mm wood, it can’t match the cutting power of the 45W CO2 laser in the Glowforge Pro.
But if you’re willing to trade off some CO2 laser performance, the xTool S1 gives you portable offline usage, rotary engraving, swappable laser modules including an IR laser for metal, and saves you over $3,000 compared to the Glowforge Pro. It’s an incredibly versatile and affordable laser engraver.
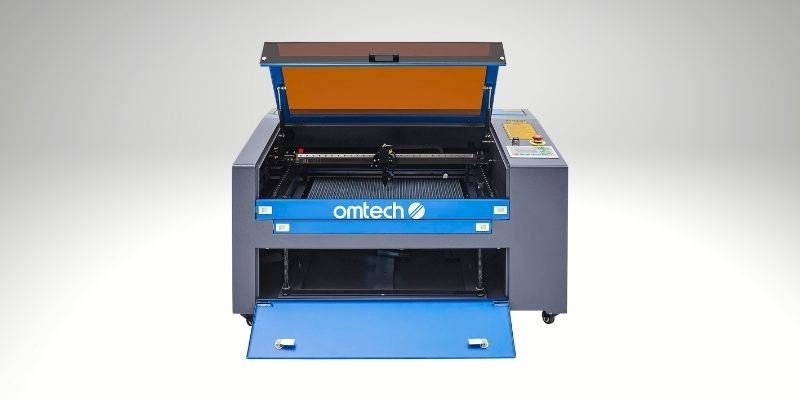
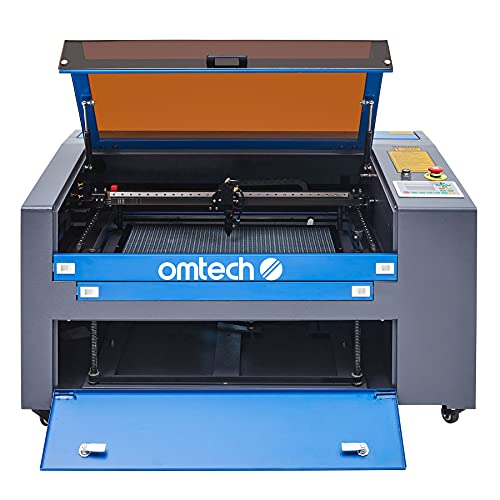
3. OMTech 55W – More Power, Lower Price
- Price: Check price at Amazon here
- Working area: 600 x 400 mm
- Rotary Attachment? Yes Available on Amazon here
- Laser Power: 55W
- Best Compatible Software: Lightburn
- Max Engraving Speed: 600mm/s
Pros
Larger work area than most in its price range.
Can cut deeper than Glowforge.
Has a rotary device add-on, unlike Glowforge.
Faster than Glowforge.
Cons
Doesn’t feature unlimited lengths like Glowforge.
OMTech’s low-cost K40 40W laser made our list as the cheapest Glowforge alternative, but for a more like-for-like alternative specs-wise, we have the OMTech 55W.
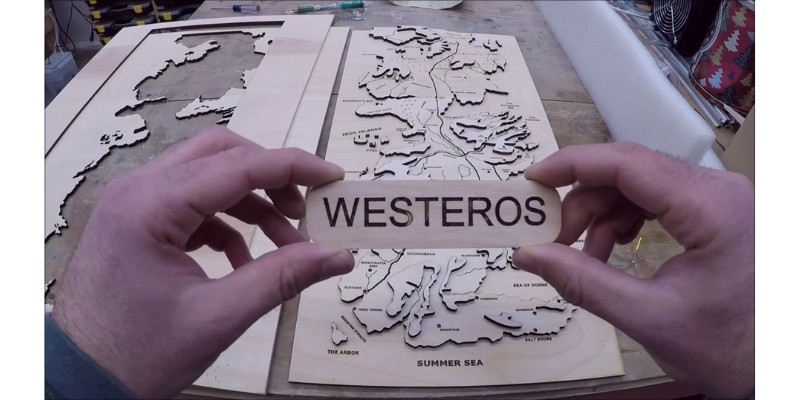
It doesn’t feature unlimited lengths like the Glowforge Pro, but the 24” x 16” working area is larger than most in its price range, and is more than enough for cutting large signs or topographical maps.

It can also cut deeper, with an estimated 0.63” max cutting thickness according to OMTech, versus Glowforge’s 0.25” maximum cut depth. Beyond actual cut depth, you get far more z-depth with the OMTech 55W, at 10” vs the Glowforge Pro’s 2”.
If you want to rotary engrave, the Glowforge can’t satisfy you, leaving the OMTech the only game in town (though most of our other Glowforge Pro alternatives on this list have these add-ons). The rotary device add-on costs just under $300, and there’s a few other handy add-ons also available like the 5200 water chiller for $500.
OMTech stress both the speed differences between their 55W laser cutter and the 45W Glowforge Pro, and the image resolution differences. For speed, OMTech claim a 600mm/s max engraving speed vs Glowforge’s estimated 200-250mm/s, and a far significant 400mm/s cutting speed. The 2540 dpi image resolution vs around 1000 dpi for the Glowforge is significant, though both are still considered high quality.
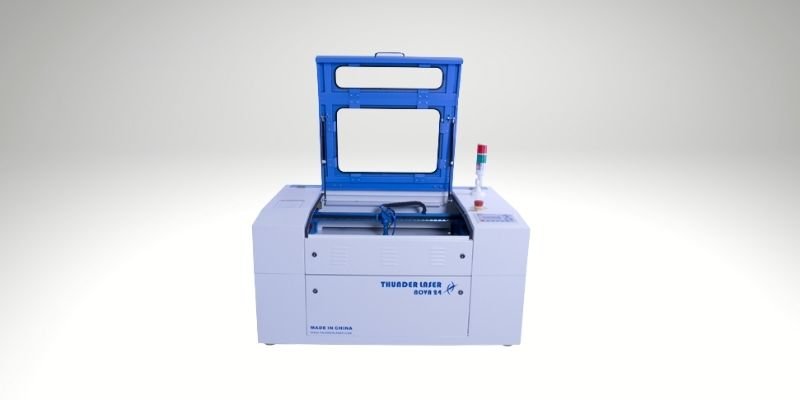
4. Thunder Laser Nova 24 – The Industrial Choice
- Price: $7,400
- Work area: 600 x 400 mm
- Rotary Attachment? Yes
- Laser Power: 40W or 60W
- Compatible Software: Lightburn, RDWorks, and LaserMaker
- Max Engraving Speed: 2000mm/s
Pros
A great durable, industrial laser for your business.
Thunder Laser machines are compatible with Lightburn, unlike Glowforge.
Can be adjusted downwards for these taller parts without issue.
Can work at 1000mm/s, making it an effective business machine.
Cons
More expensive than Glowforge.
For a large, premium option instead of the Glowforge Pro, Thunder Laser manufactures a number of professional laser cutters, ranging from the lowest-cost Nova 24 Lite and Nova 24 machines, up to higher-priced premium industrial lasers.
It’s more expensive than the Glowforge Pro, but if you’re looking for a durable, industrial laser for your business, the Nova 24 is ideal. The 60W power and large 600 x 400 mm working area with infinite length if you keep the pass-through door open mean you’ll be able to cut and engrave almost any material you desire, no matter the size or toughness.
Unlike Glowforge’s online laser software, Thunder Laser machines are compatible with Lightburn, and each machine comes with a license. Using Lightburn ensures you own the IP for any designs you use (a concern with the Glowforge workflow), and you can use it offline.
A major limitation of Glowforge laser cutters is the little z-depth movement, so you can’t engrave tall objects, such as bowls, figurines, pots, and other ornaments or tall furniture. The Nova 24’s tray can be adjusted downwards for these taller parts without issue. It also comes with a CW5200 water cooler, air assist compressor, flexible ducting, and more.
For business use, speed is key – it’s directly related to how much money you can make. The Thunder Laser Nova 24 can work at 1000mm/s, making it an effective business machine. It’s safely enclosed and has a well-designed exhaust tube system to prevent any of the CO2 laser gases from reaching you.
It’s expensive and complex, but if you’re looking to scale up your business, Thunder Laser laser machines are ideal. If you run into any trouble there are a variety of helpful Facebook groups such as this and this group, and Thunder Laser offer 6 different models — the Nova 24 the cheapest — that you can compare and determine which is best for you.
The video below explains one customer’s view on Thunder Laser and how they better match up against Glowforge lasers:
Other Alternatives We Considered
These were considered, but didn’t make our top recommendations:
- Flux Beamo
- Epilog Zing
- Various Boss Laser lasers
- Dremel LC40 (was once recommended but is now discontinued)
- Various Cricut cutters
- CNCs such as the X-Carve
- Snapmaker 2.0 and Snapmaker Artisan
What is Glowforge Not Good For?
Glowforge’s Apple-like design, sleek surfaces, and slick marketing campaigns have turned creatives and makers all over the world into Glowforge devotees.
And there’s many reasons why: they’re accessible and intuitive, work well generally, and turn your home or workshop into a one-stop shop for an Etsy store or similar – most people pay their machine cost off within a few months if they’ve got enough creative ideas for their wares.
If you’re after a simple laser that’s a joy to use, and you can accept the sacrifice in specs you might gain by switching to an alternative, go for a Glowforge Pro, Plus, or Basic.
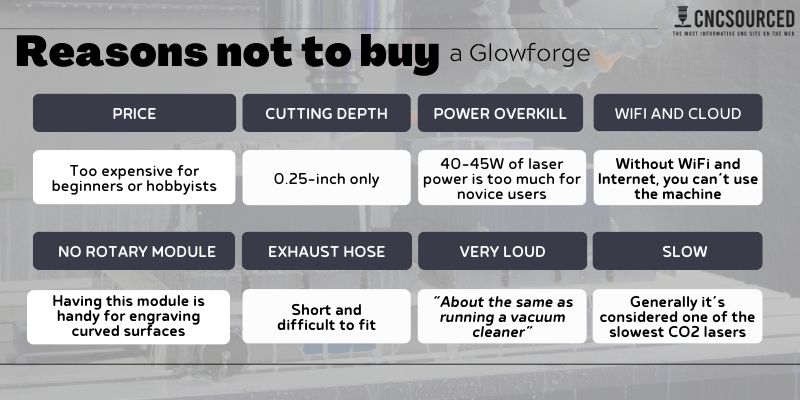
However, there are some key reasons why you should ask whether the Glowforge is worth it for you:
Price
The Glowforge Pro is $5,995, which is far more money than other lasers, while offering worse actual performance and specs. For example, the xTool P2 now has higher power, offers a rotary with the riser base attachment, and cuts faster and thicker wood, despite being over $1,000 cheaper.
You also need to consider your ongoing costs such as for materials and replacement parts. While high quality and convenient, Glowforge’s Proofgrade materials are expensive.
Cutting depth
For engraving and thin cutting, the Glowforge Pro and other models offer fantastic accuracy and repeatability. However, those who want to cut 0.5-inch or thicker plywood and similar materials will be frustrated with the 0.25-inch cutting depth.
When I put this list of Glowforge alternatives, a priority was featuring laser cutters that can cut thick material, especially wood and acrylic. Lasers like the xTool P2 cut 20mm basswood, far thicker than the Glowforge Pro.
Reliance on Wifi and Cloud-based Software
Glowforge Print uses the cloud, so if you don’t have an internet connection that reaches wherever your machine sits, you’re stuffed. You can’t download the app and use it offline, so you’re really a prisoner to your WiFi connection.
What’s more, many Glowforge users complain about the slow server times from sending your job, to the job executing. Understanding users’ frustrations, Glowforge brought out a fix – but it wasn’t the fix the customers wanted.
In fact, their solution was to offer a $50/month Glowforge Premium software, which gave users priority in the cloud queue to submit their projects. While this also comes with a wide commercially-licensed vector graphics library and some other really cool features like font tools, shape and outline tools, and unlimited storage, this still feels very expensive.
There’s also the fact that if Glowforge were to go out of business, and the software no longer supported, you could in theory be left with a $6,000 useless brick of a machine that can’t be accessed or controlled. The lack of downloadable, offline support adds risk to your choice.
We picked Glowforge alternatives that use laser software like Lightburn that you can download and run, and that offer lifetime access once you’ve paid your one-off fee.
No Rotary Module Add-on
While not everyone wants to do 4-axis engraving of curved materials, it’s a useful option to have in your laser engraving arsenal.
Unfortunately, none of Glowforge’s three models have rotary axis compatibility.
If you want to engrave curved surfaces, then don’t buy the Glowforge. Consider alternatives I recommend such as the xTool P2, xTool S1, or Thunder Laser if you have the budget.
Short, Difficult-to-fit Exhaust Hose
Many Glowforge owners complain about the short exhaust hose that’s difficult to fit, and can often slip off during a project, which nobody wants to happen when there’s fumes about.
There are solutions, such as this exhaust port extension which can be 3D printed or bought cheaply. However, the ideal Glowforge replacement wouldn’t have this issue to begin with.
Very Loud
This isn’t a huge deal for most, as you need to kind of expect a certain level of noise if you’re planning on lasering materials. Plus, if you’ve ever owned a CNC router, and to a lesser extent, a 3D printer, you’ll know how loud that carving woods in particular on a router can be.
Nevertheless, the Glowforge Pro is noisy. So opt for a quieter Glowforge alternative if you plan to run it near your living space.
Not Particularly Fast
While sleek, relatively powerful, and easy to use if you’re newer to laser cutting and engraving, Glowforge machines aren’t exactly speed demons.
Glowforge don’t reveal the exact speeds each of their machines offer, choosing instead to list the Glowforge Pro’s speed relative to the Glowforge Basic.
However, curious Glowforge users have taken to the forums to experiment and post their results, and generally it’s considered one of the slowest CO2 lasers available. This is in contrast with lasers such as Thunder Laser’s Nova 35, which can run 5x as fast.
If you’re running a business on Etsy or your own store, the slower cutting speed of a Glowforge can really be a bottleneck on how quickly you can produce products, and how much money you can make.
Reasons To Buy a Glowforge Laser Cutter
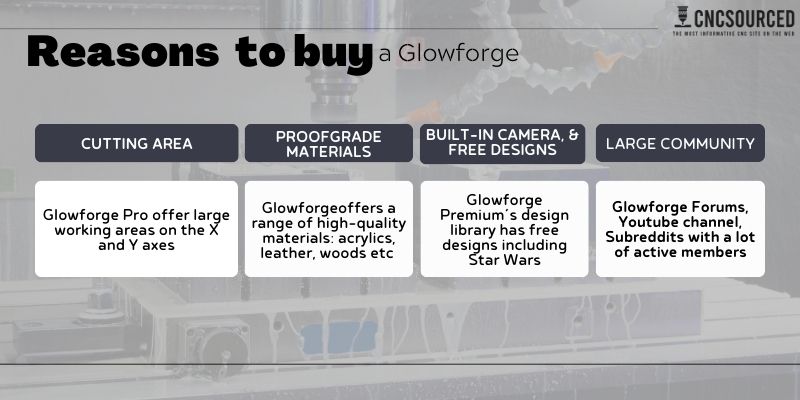
Large Cutting Area
Glowforge machines, especially the Glowforge Pro with its infinite-length 3D laser printing, offer large working areas on the X and Y axes – despite fitting snugly on most workshop desktops. All you need is a nearby window to vent out of.
This will be more than enough, unless you plan on doing enormous 24” cutting and engraving, in which case you’ll need an industrial laser cutter-sized machine.
High-quality and Workflow-optimized Proofgrade Materials
While they’re priced to reflect this, Glowforge’s material range offers high-quality acrylics, woods, and more to get started with. They each come with a unique QR code that automatically optimizes your Glowforge for working with the material, and the material sheets are evenly cut for a high-quality job.
Some will argue that this is Glowforge’s attempt to trap you in the 2D printer style of business model of getting you hooked on ink cartridges and trapping you within their ecosystem, but frankly Glowforges themselves aren’t cheap like an inkjet printer loss-leader, and you can use your own third-party or custom-cut materials with your 3D laser printer if you don’t want to use theirs.
However, the materials are often sold out, and businesses looking to maximize profit margins will be better off sourcing cheaper materials elsewhere.
Built-in Camera, and Thousands of Free Designs (Including Major IP)
It’s easy to laser your own custom hand-draw your designs using your Glowforge’s built-in camera. But you can even go one further, with Glowforge Premium’s design library with almost unlimited free designs.
What’s more, Glowforge have teamed up to offer designs such as Star Wars designs within the app, that you can use commercially.
Large Community
Glowforge’s marketing strategy is definitely the best in the game, and despite the price, thousands of makers all over the world have pulled the trigger on one of their laser machines.
As a result, there are thriving communities on Glowforge’s forums, on YouTube, and various subreddits including Glowforge’s own subreddit with over 7,000 members. Such communities are rarely available across the best Glowforgae alternatives, which is worth keeping in mind.
What’s Changed?
December 2023 update:
- We removed several lasers we felt were not good alternatives anymore at the end of 2023. These included the OMTech K40 40W, Snapmaker A350, and Flux Beamo.
March 2024 update:
- We replaced the xTool D1 Pro with the xTool S1 in our ranking, as we feel this is a better like-for-like diode laser alternative to the Glowforge. It’s still several thousand dollars cheaper, but is enclosed and has better ventilation like the Glowforge.
- Removed the FSL Muse. It’s a little out of date now and our current recommendations are better suited for replacing your Glowforge.
Other articles you may be interested in:
- The best CO2 lasers
- The best xTool alternatives
- The best laser engravers for metal
- The best acrylic laser cutters and engravers
- Great laser cutting and engraving ideas and projects
- The best laser cutter and engraver software
- Free laser cut files: the best websites to download free SVGs