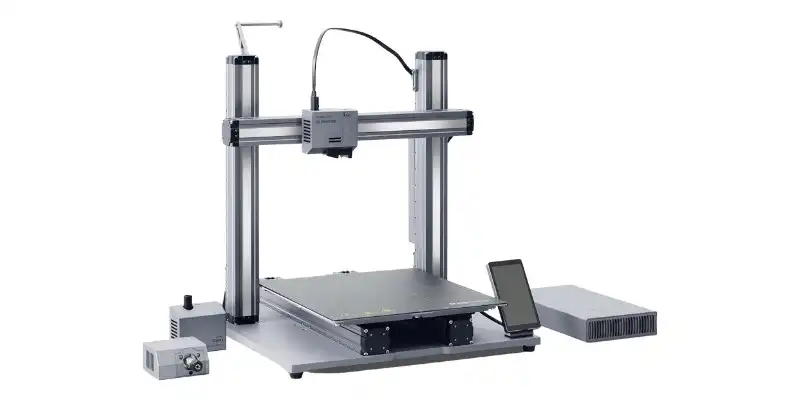
When it comes to Snapmaker vs xTool, the main question is whether the laser on the Snapmaker 2.0 A350T is enough for your projects, or whether you need a specialized machine like the xTool D1 Pro 20W.
I have tested both and the short answer is that xTool lasers are significantly better lasers than Snapmaker’s 3-in-1 device – even including the Snapmaker 10W high-power laser head (which I have also tested and reviewed).
In this guide, I’ll share my hands-on experience across all the important factors – like working area, power, laser beam quality, precision, and material options – across both Snapmaker’s 1.6W and 10W lasers and the xTool D1 Pro 10W, 20W, and the xTool M1.
Here is my short verdict:
- You don’t need an xTool if you only occasionally engrave.
- You don’t need an xTool if you have Snapmaker’s 10W laser and you don’t need to laser cut frequently.
- It’s better to buy an xTool D1 Pro 10W instead of upgrading Snapmaker’s 1.6W laser to 10W.
- You’ll need an xTool to improve productivity, speed, work area, and accuracy. For higher power and productivity, you can also go for an xTool D1 Pro 20W.
|
Budget pick
|
Best laser
|
|
4.5
|
4.5
|
|
$1199 ($600 off!)
|
$1,399.99
|
Various Models and Functions
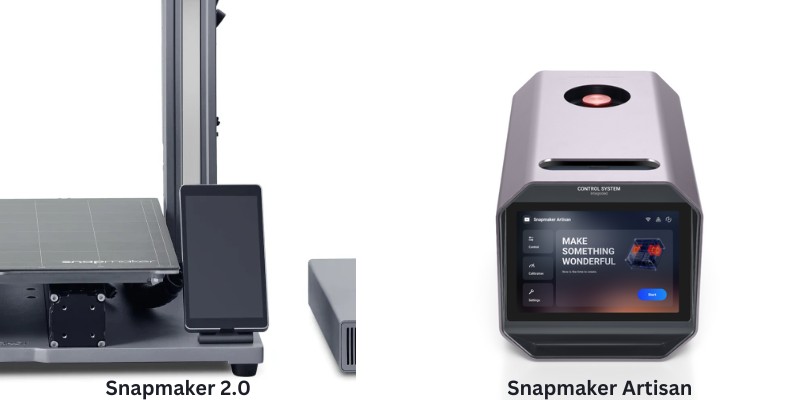
Snapmaker 2.0 and Snapmaker Artisan offer 3-in-1 machines. You can use one as a 3D printer, laser, or CNC engraver. On the other hand, xTool machines are just lasers.
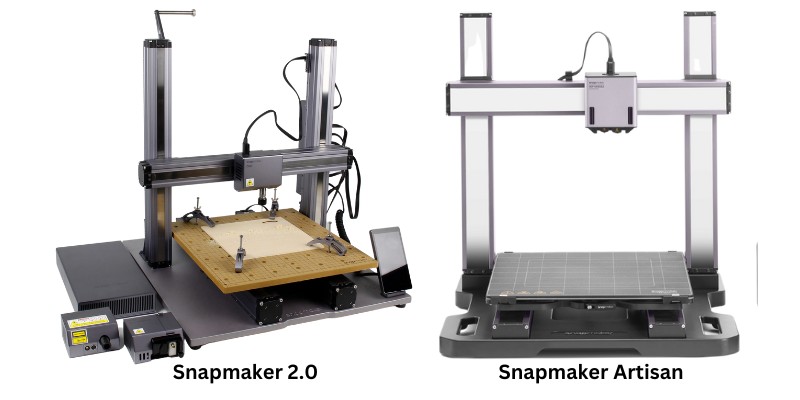
xTool M1 is the only multi-functional machine since it also possesses a blade cutter (like a Cricut). However, it’s not a CNC engraver: it can only cut thin materials (about 3mm). One advantage is that the xTool M1 is a hybrid machine, so the blade cutter is mounted on the bottom of the laser.
On the other hand, Snapmaker 3-in-1 machines have a modular design, so you can only use one module at a time. For example, you can unscrew the 3D printer module and install the laser instead.
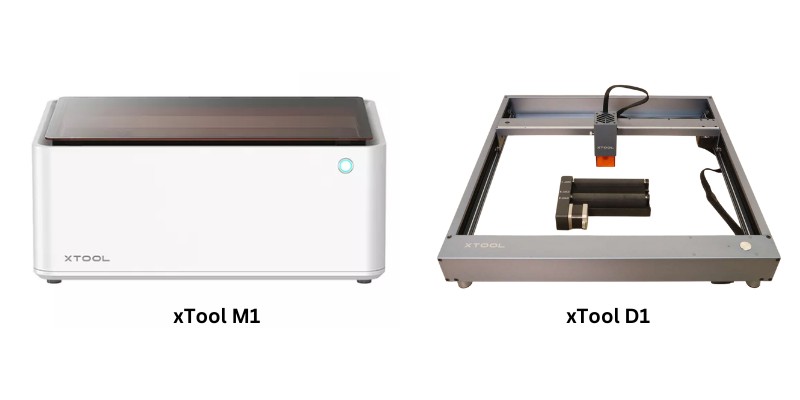
In short, Snapmaker 2.0 and Artisan are truly 3-in-1 machines, while xTool machines are only lasers – though the xTool M1 has a blade cutter if this interests you.
Laser Type
| Laser | Laser Type |
|---|---|
| Snapmaker | Diode |
| xTool | Diode |
Snapmaker 2.0 and Artisan have diode lasers. xTool also makes several diode lasers. Though xTool’s parent company, Makeblock, also makes the Laserbox, which is a CO2 laser. But we’ll focus on the diode lasers for this xTool vs Snapmaker laser comparison.
Work Area
| Machine | Work Area (mm) | Work Area (inches) |
|---|---|---|
| xTool D1 | 432 x 406 | 17 x 16 |
| Snapmaker 2.0 A350 | 320 x 350 | 12.6 x 13.8 |
| xTool M1 | 385 x 300 | 15 x 12 |
| Snapmaker Artisan | 400 x 400 | 15.7 x 15.7 |
xTool has a slightly larger work area than Snapmaker. You can see the various machines’ work areas in the table below.
You can also choose the Snapmaker 2.0 A250, which has a smaller work area of 250 x 250 mm.
Laser Power
| Laser | Laser Power |
|---|---|
| Snapmaker 2.0 | 1.6W (10W add-on available) |
| xTool D1 Pro | 5W, 10W, 20W, and 40W available |
Snapmaker 2.0 has a 1.6W laser by default, with a 10W high-power laser as a paid add-on – which comes with the Snapmaker Artisan by default.
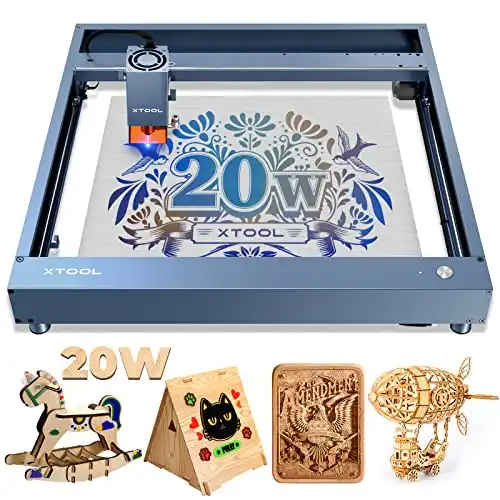
Meanwhile, xTool D1 Pro and xTool M1 have 5W and 10W lasers. However, you can also get the xTool D1 Pro 20W if you need more power.
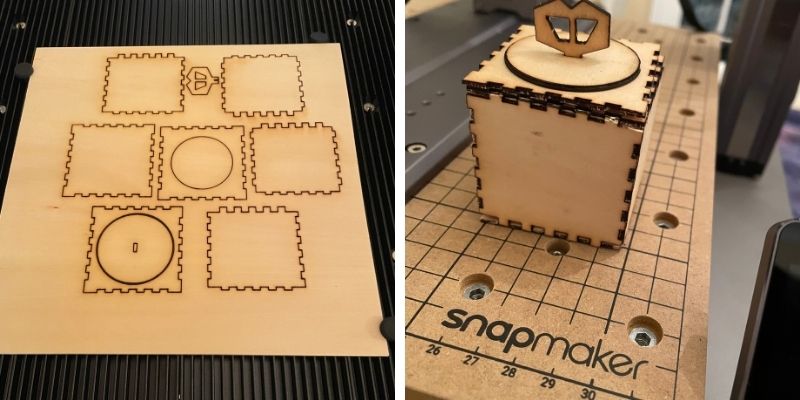
Snapmaker 2.0’s 1.6W laser is only good for engraving, though you can cut thin wood at low speeds – I managed to cut a thin 2mm basswood box with 3 passes with my 1.6W laser.
However, Snapmaker’s 10W laser module has similar power to xTool, and can cut 8mm basswood in two passes, as well as cut acrylic.
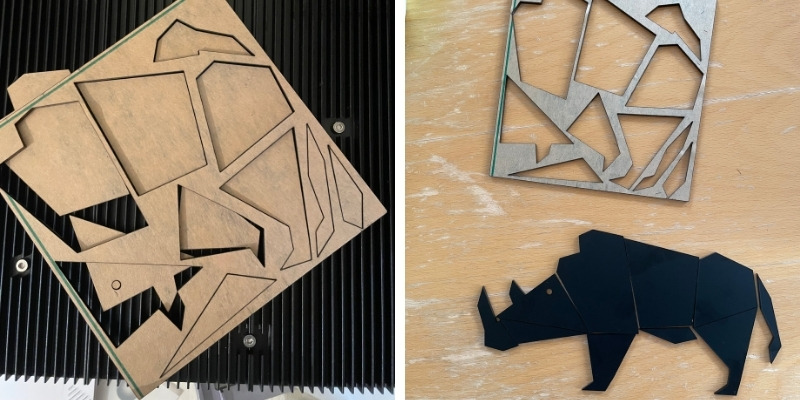
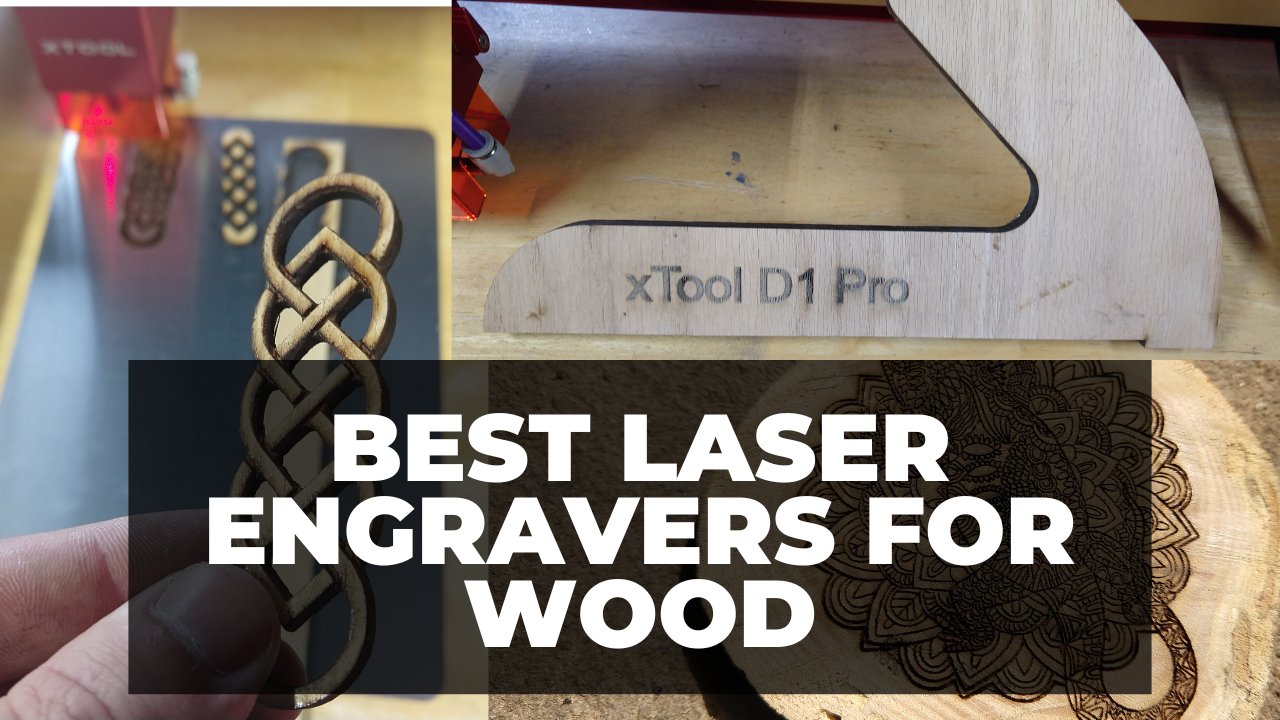
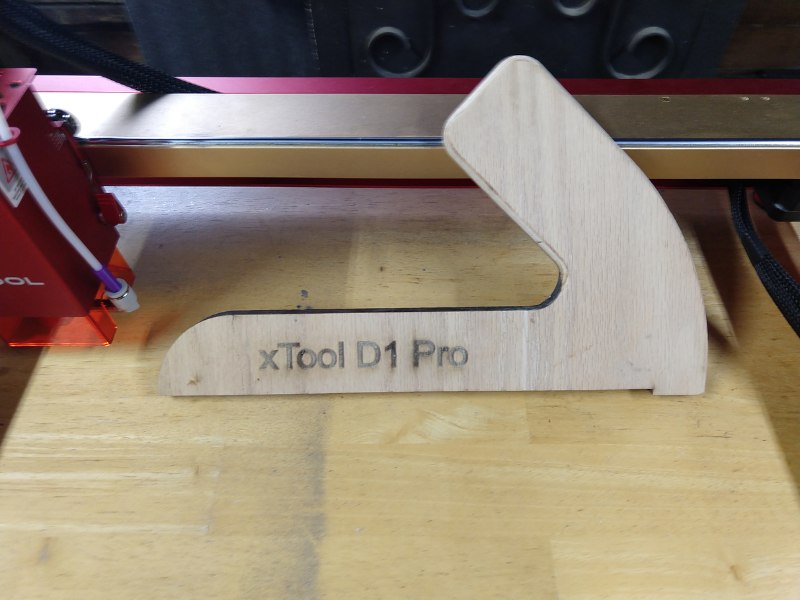
xTool D1 Pro 20W is the strongest and can cut even 10mm basswood and 5mm acrylic. I easily cut thin sheets of acrylic, cut through thicker basswood, and engraved onto anodized aluminum.
Laser Spot
| Laser | Laser Type |
|---|---|
| Snapmaker 2.0 1.6W | 0.20 x 0.30 mm |
| Snapmaker 2.0 10W | 0.05 x 0.20 mm |
| xTool D1 Pro 10W | 0.08 x 0.06mm |
| xTool D1 Pro 20W | 0.08 x 0.10mm |
xTool’s laser spot is between 0.08 x 0.06mm for the D1 Pro 10W, to 0.08 x 0.10mm for the D1 Pro 20W. In contrast, Snapmaker’s 10W laser scatters over a large area of 0.05 x 0.20 mm, while their 1.6W laser is very poor at 0.20 x 0.30 mm.
Therefore, xTool provides a more concentrated beam and higher resolution, offering better detail and providing more concentrated energy to cut at higher speeds.
Laser spot is essential to the engraving details, speed, and cut finishes. xTool’s laser beam has much better quality than Snapmaker’s. Snapmaker’s 1.6W laser has the lowest beam quality (lower than their 10W laser).
Speed
| Laser | Speed |
|---|---|
| Snapmaker 2.0 1.6W | Not available |
| Snapmaker Artisan | 6000 mm/sec |
| xTool D1 Pro 10W | 10000 mm/sec |
| xTool D1 Pro 20W | 10000 mm/sec |
Although Snapmaker is plenty fast, xTool engraves and cuts even faster than Snapmaker.
Snapmaker reports a maximum engraving speed of 6000 mm/sec for the Artisan. But, that’s just the axis speed, not the real engraving speed. To put it into perspective, xTool’s maximum speed is 10000 mm/sec.
In reality, laser speed is more complicated and depends on axis speed, beam power, resolution, and laser spot. xTool lasers perform better in all of these areas.
We don’t have exact data on Snapmaker’s 10W laser cutting speed, but here is my tentative ranking of the lasers in order of laser speed:
- xTool D1 Pro 20W
- xTool M1 and D1 Pro 10W
- Snapmaker 10W (Artisan and 2.0)
- Snapmaker 2.0 1.6W
Though, the Snapmaker’s 10W laser is about 8 times faster than the 1.6W laser, according to Snapmaker and verified by our testing.
Accuracy
| Laser | Accuracy |
|---|---|
| Snapmaker | 0.05mm |
| xTool | 0.01mm |
xTool lasers are better built, with better mechanics, so naturally they have better accuracy as well as speed.
These differences show in certain situations, for example in thickening an outline if going over multiple passes, or in slightly less accurate corners if engraving at high speeds.
Snapmaker’s linear mechanism has a positioning accuracy of 0.05mm. However, xTool claims 0.01mm accuracy. This is an astonishing number, and is actually more accurate than many other far more expensive lasers.
Overall, xTool is more accurate than Snapmaker.
Ease of Use
We all want our machines to connect easily, have easy (yet powerful) software, and other gimmicks to assist in smooth operation. xTool and Snapmaker both present great convenience to their users.
Software
Both xTool and Snapmaker work with their in-house and 3rd-party software. Luban is Snapmaker’s official software, while xTool Creative Space (XCS) runs xTool machines.
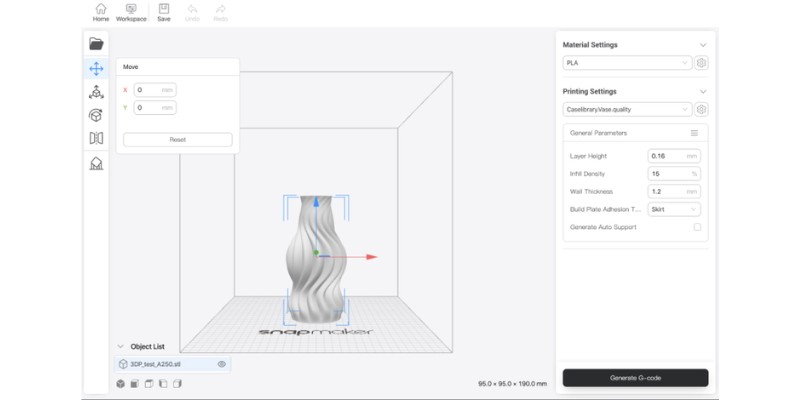
Both of these software are easy to use. Plus, you can import designs from other programs (like Adobe Illustrator) to both software.
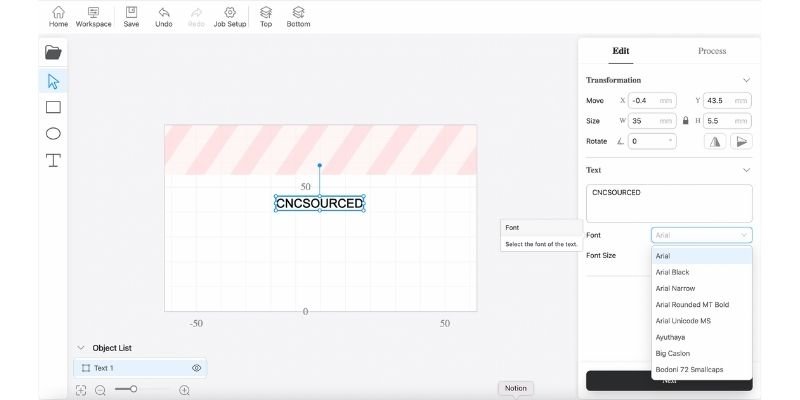
Also, Lightburn supports both machines. Lightburn is capable of more advanced design than their official software, so, most laser users consider Lightburn compatibility a huge advantage.
However, Lightburn is the only 3rd party software for xTool, whole Snapmaker is compatible with several other software like Fusion 360 and ArtCam. But this added support brings more to the CNC and 3D printer than the laser since the laser doesn’t need advanced CAM.
Snapmaker Luban deserves extra points for how easy 4-axis rotary engraving is, however. I’ve never had such a smooth rotary experience in any software, and I honestly think for this particular use that Snapmaker Luban is better than Lightburn and any other laser software.
Overall, xTool and Snapmaker both have user-friendly software.
Connectivity
You can connect to Snapmaker and xTool via USB or WiFi. However, Snapmaker also has an extra connection method: offline control with a USB flash. For example, you can transfer the g code file to the USB flash and connect the flash drive to Snapmaker.
So, you always need a computer with XCS or Lightburn to connect to xTool, while you can directly use Snapmaker without a computer.
Snapmaker’s touchscreen is an Android device (Snapmaker 2.0 has a 5” touchscreen, and Artisan has 7”). You can navigate the USB flash with it, and send the g code to the controller. However, xTool doesn’t have a touchscreen or offline control option.
Camera and Auto Focus
A wide-angle camera makes your job very easy. It helps with the material setup, and can autofocus if the machine has triangulation technology.
Both xTool and Snapmaker have optional cameras you can connect. Plus, they both have autofocus. So, just put your material there and these machines will focus the laser automatically.
Other Accessories and Add-ons
You can improve your laser with rotary, air assist, air purifier, and more. Let’s find out what you can add to each laser.
Rotary
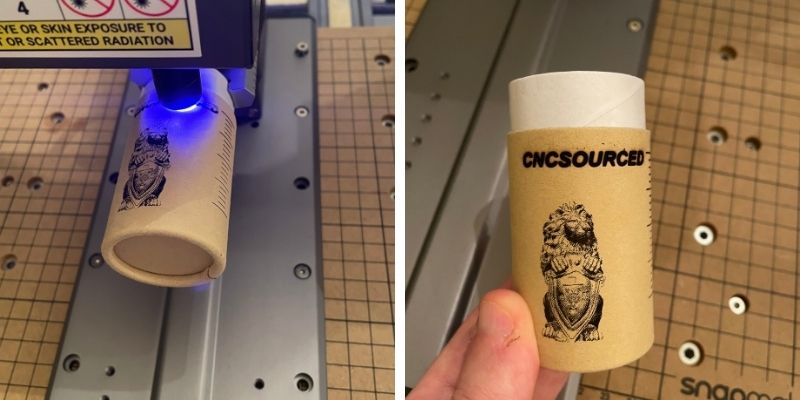
xTool’s RA2 Pro serves several functions: it’s a roller, chuck, sphere, and ring rotary at the same time. So, you can engrave balls, cups, bats, rings, and most round objects you see. In my opinion, the xTool D1 Pro with the RA2 rotary attachment is the best laser engraver for cups and tumblers – at least in terms of diode lasers.
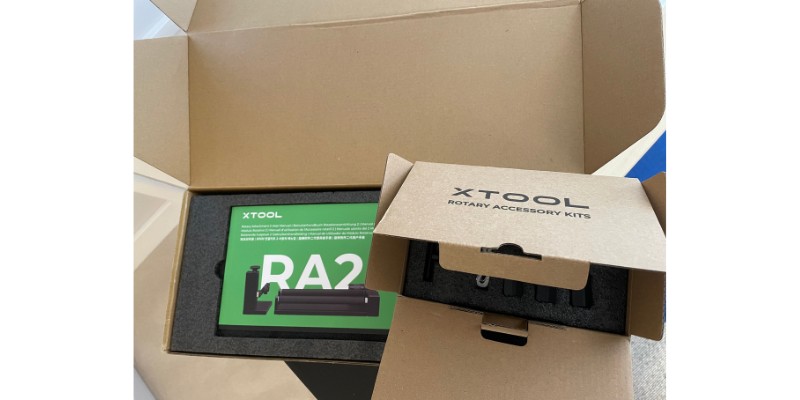
It’s more expensive than Ortur’s super cheap YRR 2.0 roller which I also own for Ortur Laser Master 3. But it’s sturdier and comes assembled, whereas Ortur’s is a DIY kit.
Snapmaker’s 4-axis rotary module is also excellent for engraving round objects. It’s sturdy enough to stand 4-axis CNC machining. Luban (Snapmaker’s software) can implement origin assistant and autofocus easily, and I engraved some very accurate designs on round surfaces when I tested this out.
Money-wise, xTool’s rotary is much cheaper than Snapmaker’s. xTool’s RA2 rotary chuck costs about $300, while Snapmaker Rotary Module costs about twice as much, though Snapmaker’s rotary is of a higher build quality.
Z-Axis Riser
Riser helps you increase the height so you can laser on taller materials. You can get a riser for xTool at a cheap price (under $200), but Snapmaker doesn’t offer risers.
However, Snapmaker 2.0 already has a tall Z-axis. It has 275mm of Z-clearance, which is enough for most tall materials.
Air Assist
You can also get xTool’s air assist for about $200. Meanwhile, Snapmaker doesn’t sell an air assist.
Air assist helps to increase the laser’s speed, reduce the fire hazard, and increase the cutting quality.
Touchscreen
Snapmaker 2.0 has a 5” touchscreen (Snapmaker Artisan has a larger 7” touchscreen), but xTool lacks this option. The touchscreen hosts Android and a quad-core CPU. It helps you to control the machine offline.
Blade Cutter
If you go with an xTool M1, your machine will also have a blade cutter. On the plus side, you can mount it on the bottom of the laser directly without disassembling any modules (as you would with Snapmaker’s CNC function).
However, xTool’s blade cutter is much weaker than Snapmaker’s CNC spindle. You can only cut very thin material sheets with it. Snapmaker CNC heads have a real spindle with collets to grip endmills. Plus, you can turn it into a 4-axis mill which works excellently – I cut some very accurate chess pieces with the rotary 4-axis CNC head.
Materials
Snapmaker 2.0 can cut these materials with its 1.6W laser:
| Material | Maximum Thickness (mm) |
|---|---|
| EVA (Vinyl) | 5 |
| Acrylic | 2 |
| Cardboard | 4 |
| Plywood | 2.8 |
| Leather | 0.6 |
| Sticker | 0.3 |
| Colored Cards | 0.3 |
But it may take several passes to cut some of these materials. For example, it takes 4 passes to cut a 2.8mm plywood.
Snapmaker’s 10W laser and xTool D1 can cut thicker materials. For example, they can cut 8mm plywood.
All of these lasers can engrave many more materials including marble, anodized aluminum, stainless steel, and more.
Is Snapmaker’s Laser As Good As xTool D1?
Snapmaker 2.0’s default 1.6W laser is nowhere near as good as xTool D1 Pro’s 10W laser, but it’s suitable for those who only occasionally laser engrave, and don’t need to cut thicker material.
On the other hand, Snapmaker’s 10W laser head comes closer to xTool D1 Pro’s level, but the D1 Pro is still more accurate, slightly faster, and has a better beam.
Should You Also Buy an xTool D1 As Well As A Snapmaker?
You don’t need an xTool laser if all you do is occasional laser engraving. However, buying an xTool makes sense if you regularly need to laser cut, want to run a small business, or want to generally improve your laser cutting performance and accuracy.
Here are some of the benefits you’ll get by buying an xTool D1 Pro (or M1) instead of using Snapmaker 3-in-1 machine’s laser:
No Need to Replace and Calibrate
You won’t have to replace the Snapmaker tool head for laser cutting or engraving. 3-in-1 machines are versatile, but you’ll have to remove the 3D printer head and replace the laser every time you switch between the functions, and recalibrate.
This only takes a few minutes, so it’s a huge problem – but it’s still extra time and hassle.
The hassle is worth it if you don’t use the laser regularly, but the time adds up if youre frequently switching, and buying a specialized last like an xTool is better here.
Also, having a dedicated laser improves your productivity as you may use both machines simultaneously.
No Need to Upgrade the 1.6W Laser
If you have the Snapmaker 2.0’s 1.6W laser, it may not make much sense to upgrade it to the 10W. Because the 10W laser module costs about $600, while an xTool D1 Pro is only slightly more.
You may be able to get an xTool D1 Pro for much less with xTool’s regular discounts. For example, xTool D1 Pro 10W has been offering a $150 discount, selling at $699.99 for quite a while.
Overall, spending to improve a 3-in-1 machine is wrong when you can have two dedicated machines by spending only slightly more.
Better Laser Performance
xTool D1 Pro (10W) has better performance than Snapmaker’s 10W laser. xTool is faster, more accurate, and has a better beam. However, these improvements are not enough to persuade a Snapmaker 10W laser owner to switch to xTool for occasional use. But, regular laser users and Snapmaker 1.6W laser users will find an xTool more convenient.
|
Budget pick
|
Best laser
|
|
4.5
|
4.5
|
|
$1199 ($600 off!)
|
$1,399.99
|